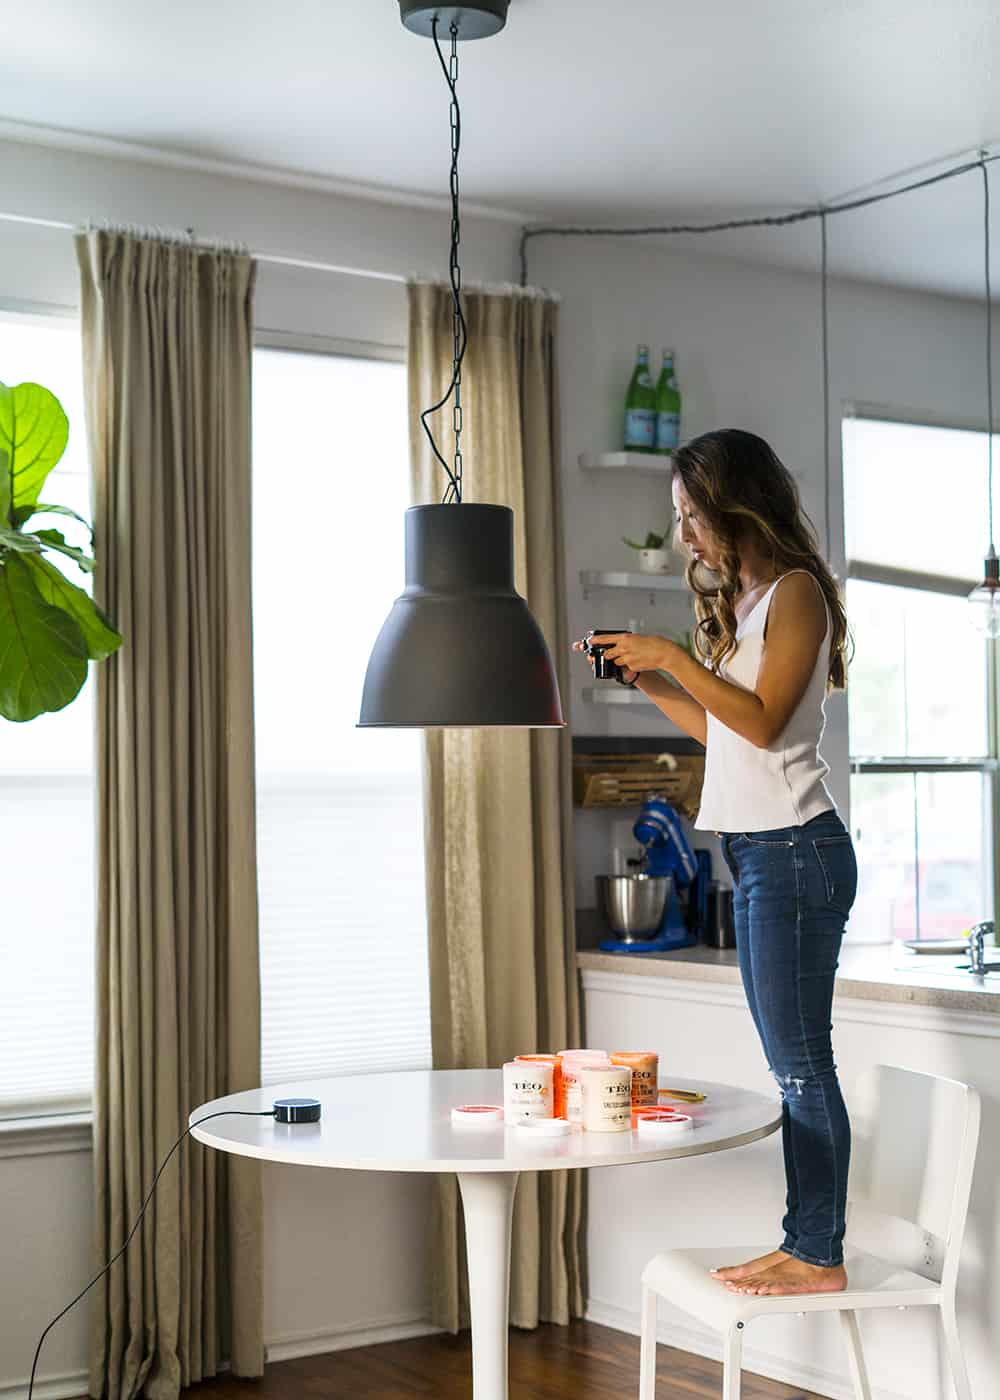
Rainy days and daylight savings are every food photographers worst nightmare. So many of you guys have asked me how to shoot food photos at night or in low light situations and I’ve always responded with, “Just don’t. Shoot in natural lighting when possible.”
Natural lighting is always best for food photos but when it’s not possible, I’ve discovered a new solution! When Best Buy reached out to me to partner with Amazon Echo Dot and Philips Hue White and Color Ambiance, I immediately thought this could be a photography solution. Meet my new photography assistant and how to take food photos at night!
Table of Contents
1. SET UP PHILIPS HUE
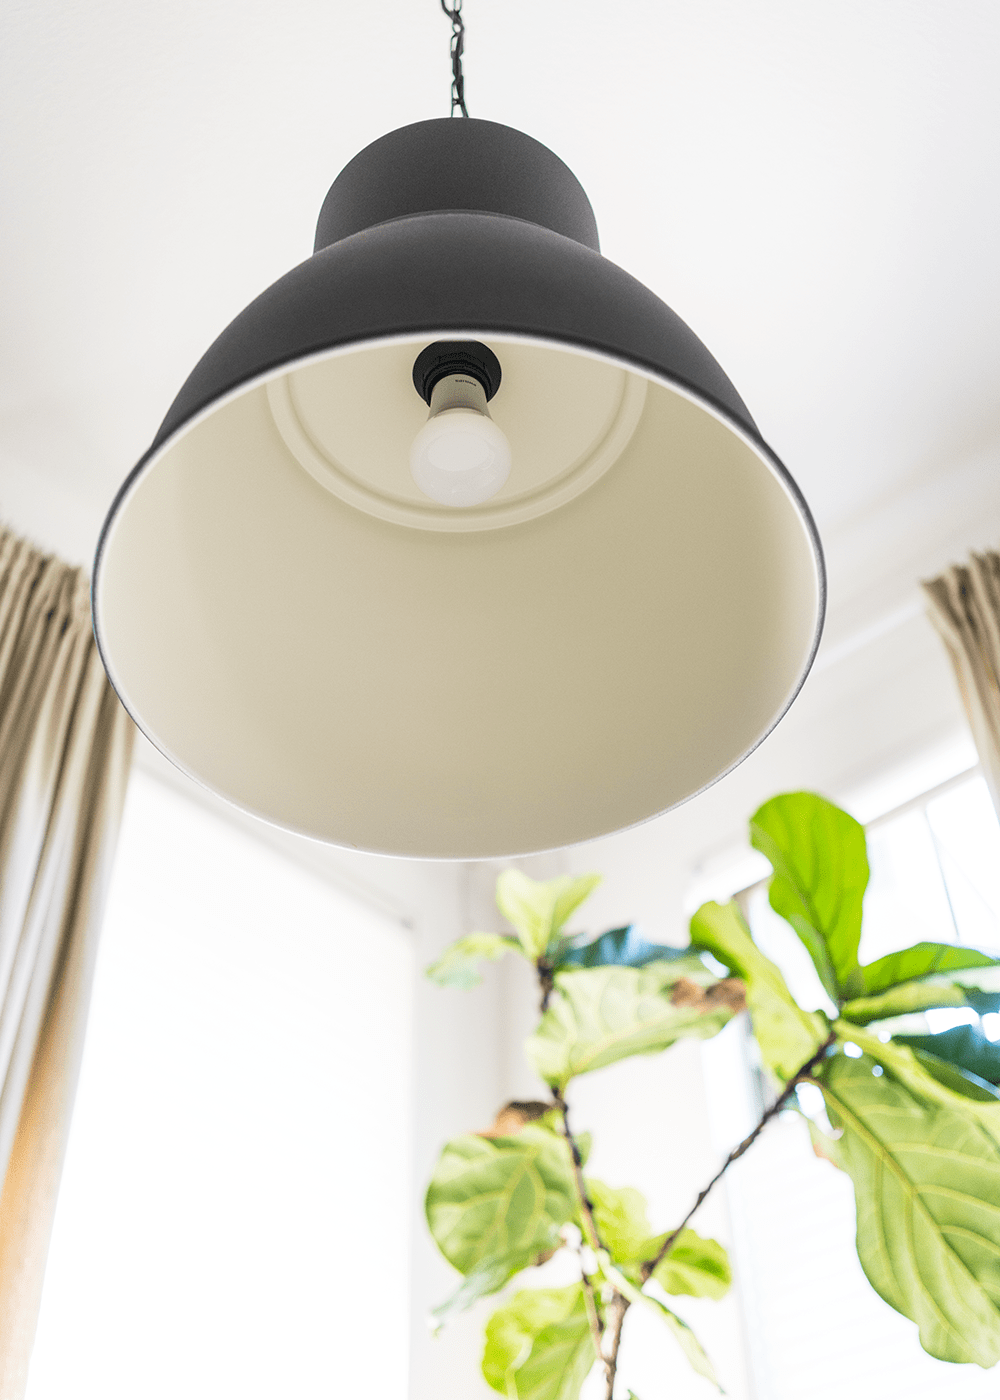
Screw in the bulbs into your desired light fittings and turn on the wall light switches. Pick a light fixture where you shoot photos. I shoot all of my photos at my dining table so one of the Hue light bulbs is screwed into my dining table pendant light.
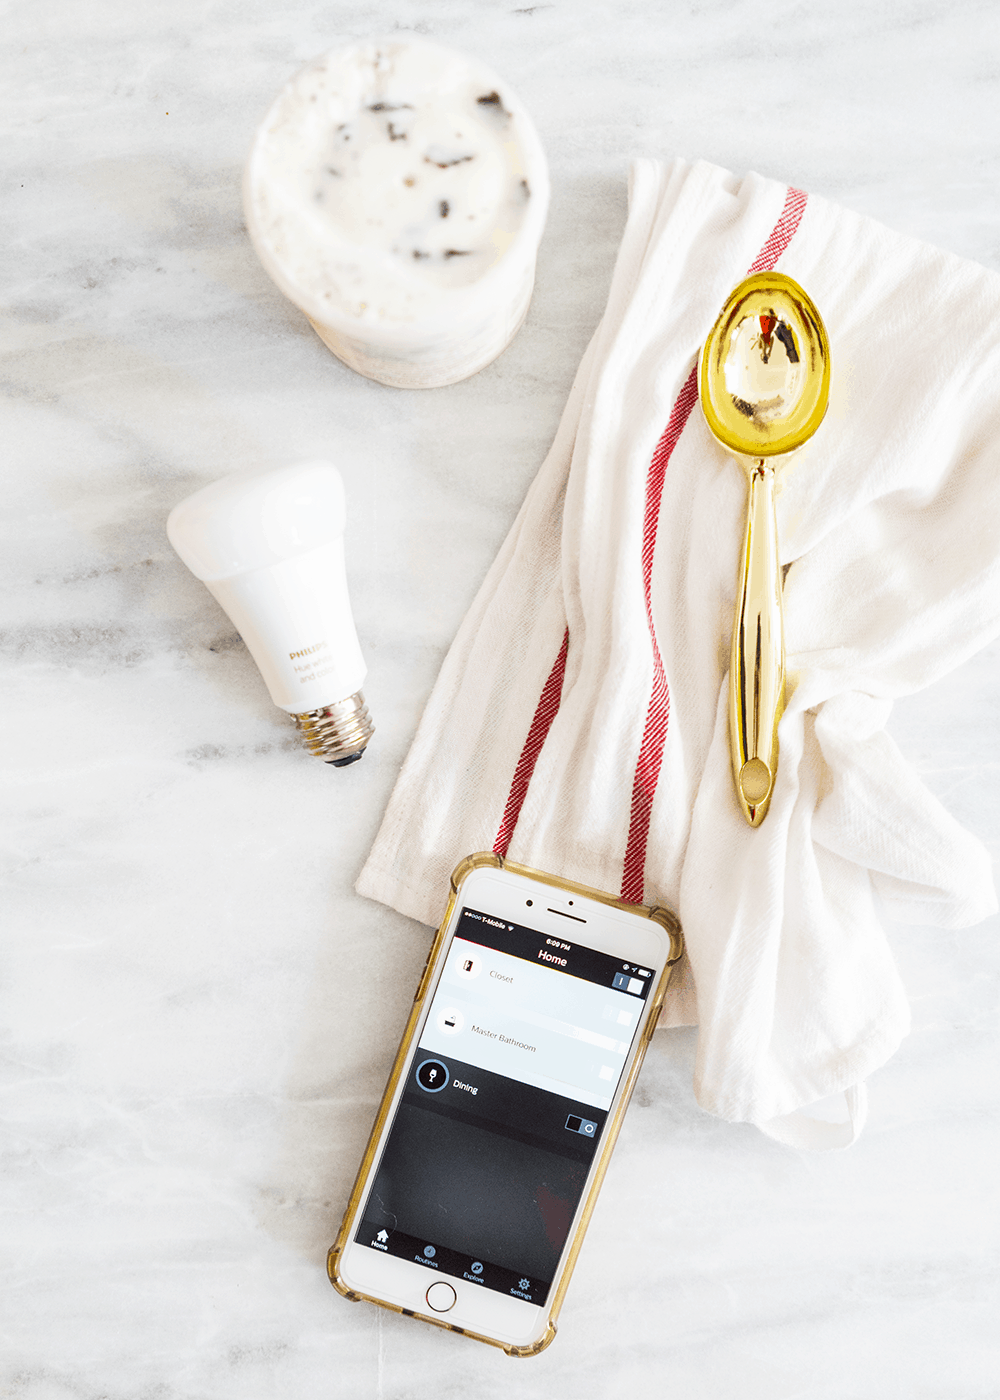
2. CUSTOMIZE YOUR HUE LIGHTS
Set up the bridge by plugging it in and connect it to your Wi-Fi router using the network cable provided. Download the Philips Hue app and set up your lights. I have 3 lights plugged into my closet, master bedroom, and dining. I highly recommend organizing and naming your lights so you know which lights to control.
3. SET UP AMAZON ECHO DOT
Plug in your Amazon Echo Dot and download the Amazon Alexa App. Open the Alexa app, and Select Smart Home from the side menu. Select Discover Devices in the Devices section and select the Philips Hue bridge to connect your Philips Hue to your Amazon Echo Dot.
4. SET UP A CUSTOM HUE SCENE
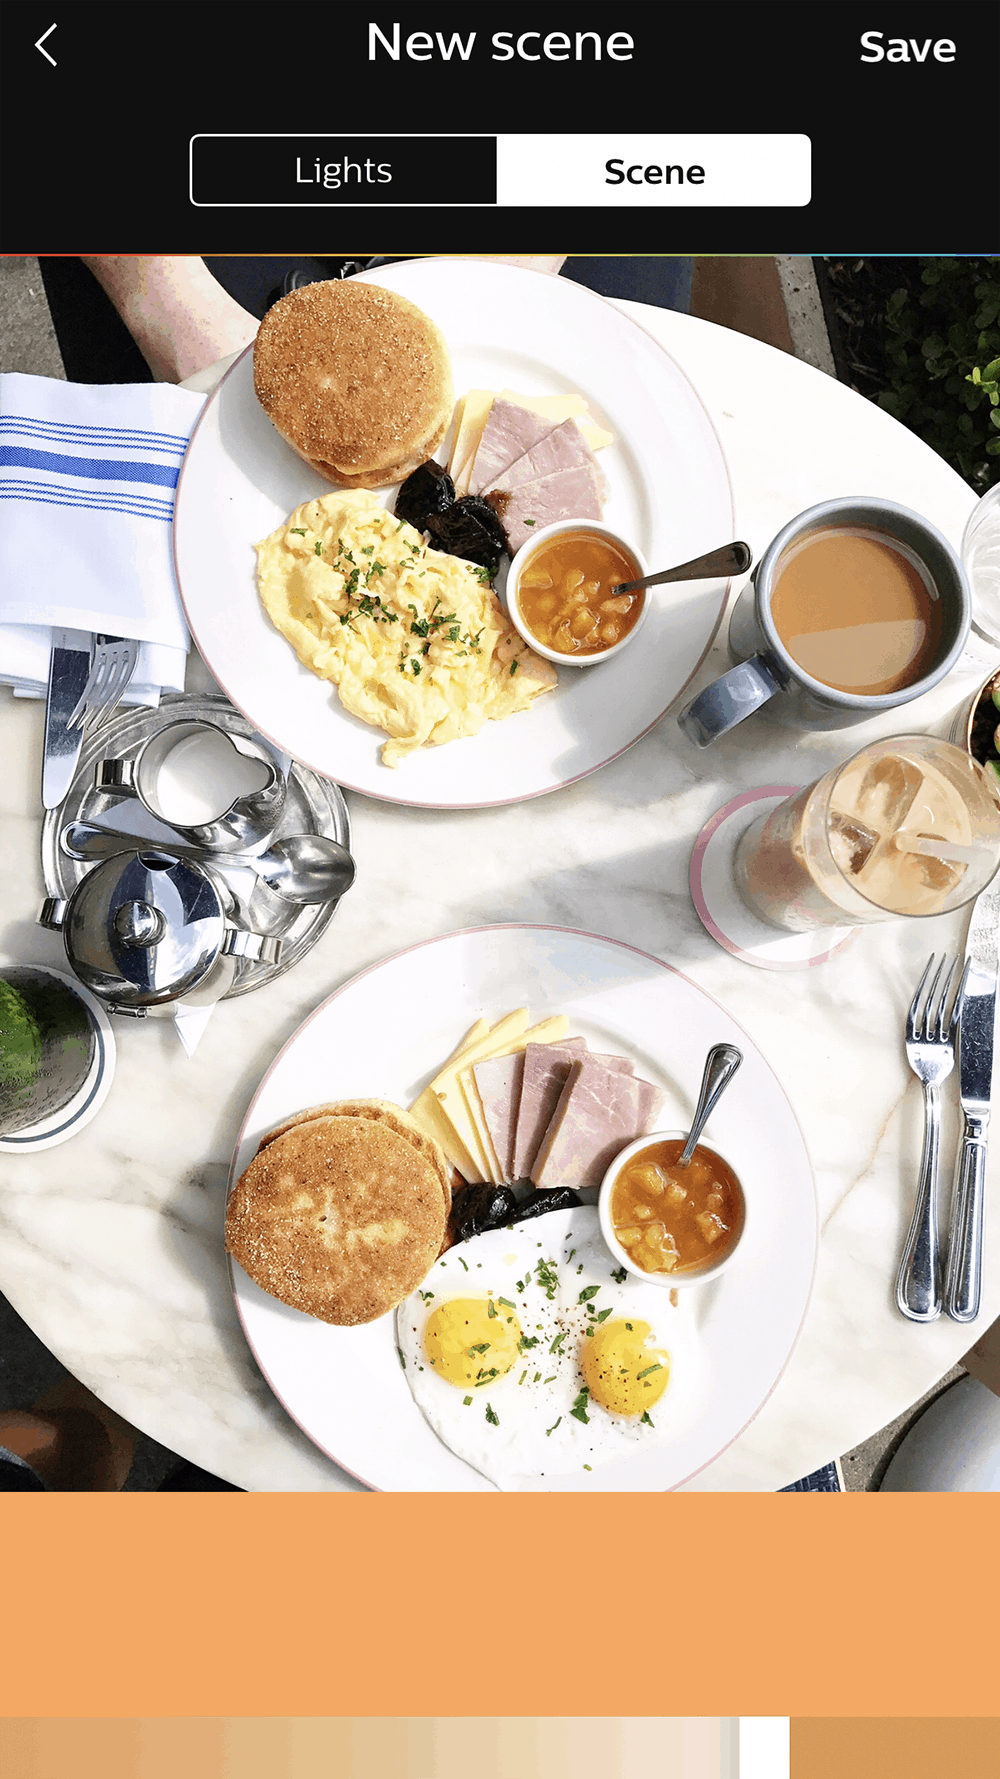
This step is optional but trust me, you’ll thank me. Find a photo that you’ve taken in natural lighting. I really like this breakfast photo I took outside at June’s on South Congress.
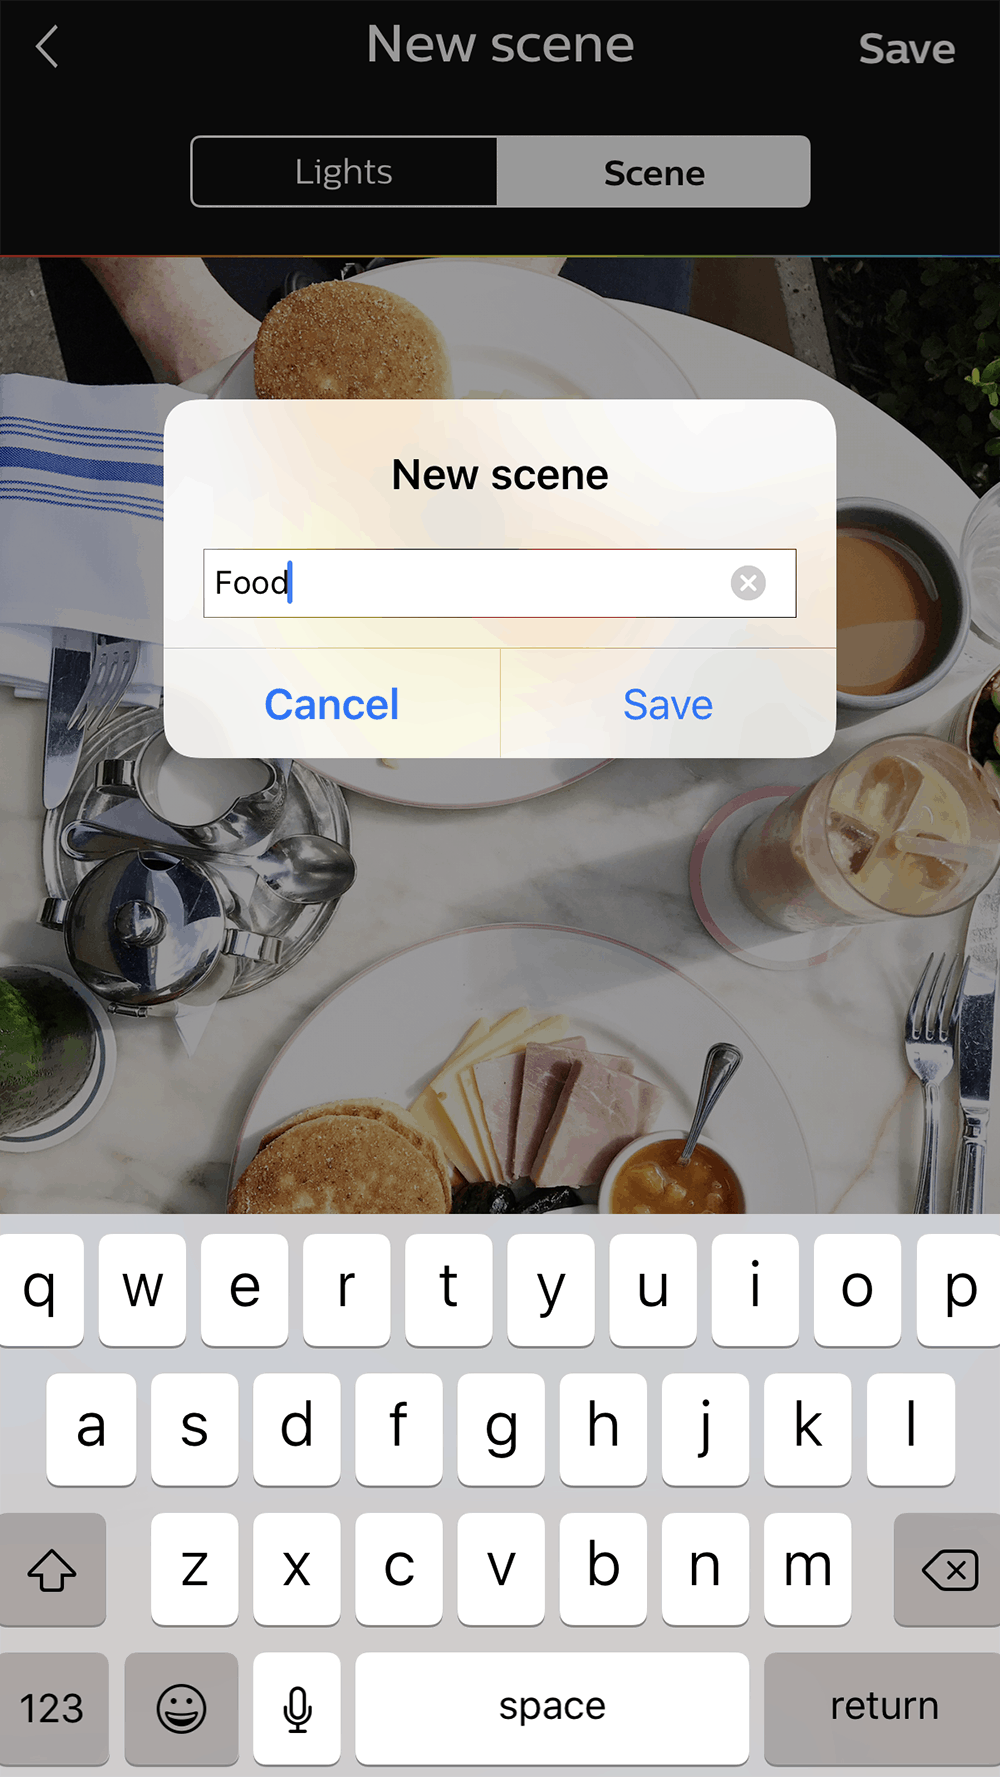
I uploaded my image from my camera roll into the Hue app to set it as a new scene. I’m calling it “Food.” Hue will then put on my lights on this color gradient created from my photo. Pretty cool right?!
Check out Hue’s tutorial on how to set up a new scene.

4. TAPE PARCHMENT PAPER TO DIFFUSE LIGHT
The trick to creating “natural light” is using parchment paper or a light cloth to diffuse the harsh light. If you have a pendant light like mine, just tape it around the pendant.
Also, dim the percentage of the light. I like using around 50 percent.
5. START TAKING PHOTOS!
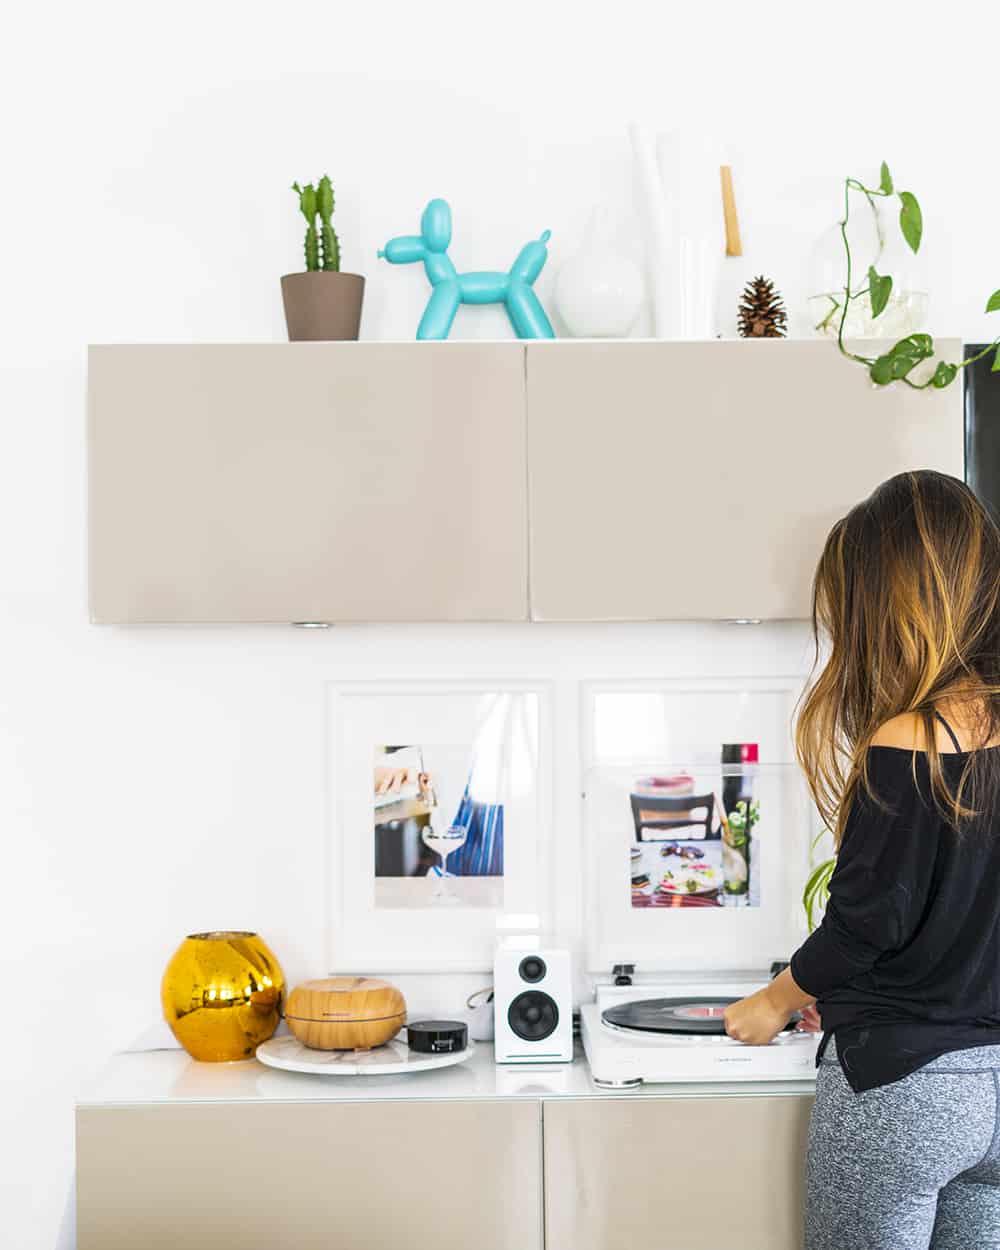
So here’s where the fun begins. Using Amazon Echo Dot, I can tell Alexa to turn on the light while I’m getting all my photo props ready.
“Alexa, turn on the light.”
I like eating with more of a golden light hue so for a photo shoot, I tell Alexa, “Alexa, switch dining to food scene.” After taking a couple of pictures and seeing if I need to increase or decrease the amount of light, I can then tell Alexa, “Alexa, switch dining to 50 percent.”
Tip: I highly recommend researching IFTTT to set up control phrases.
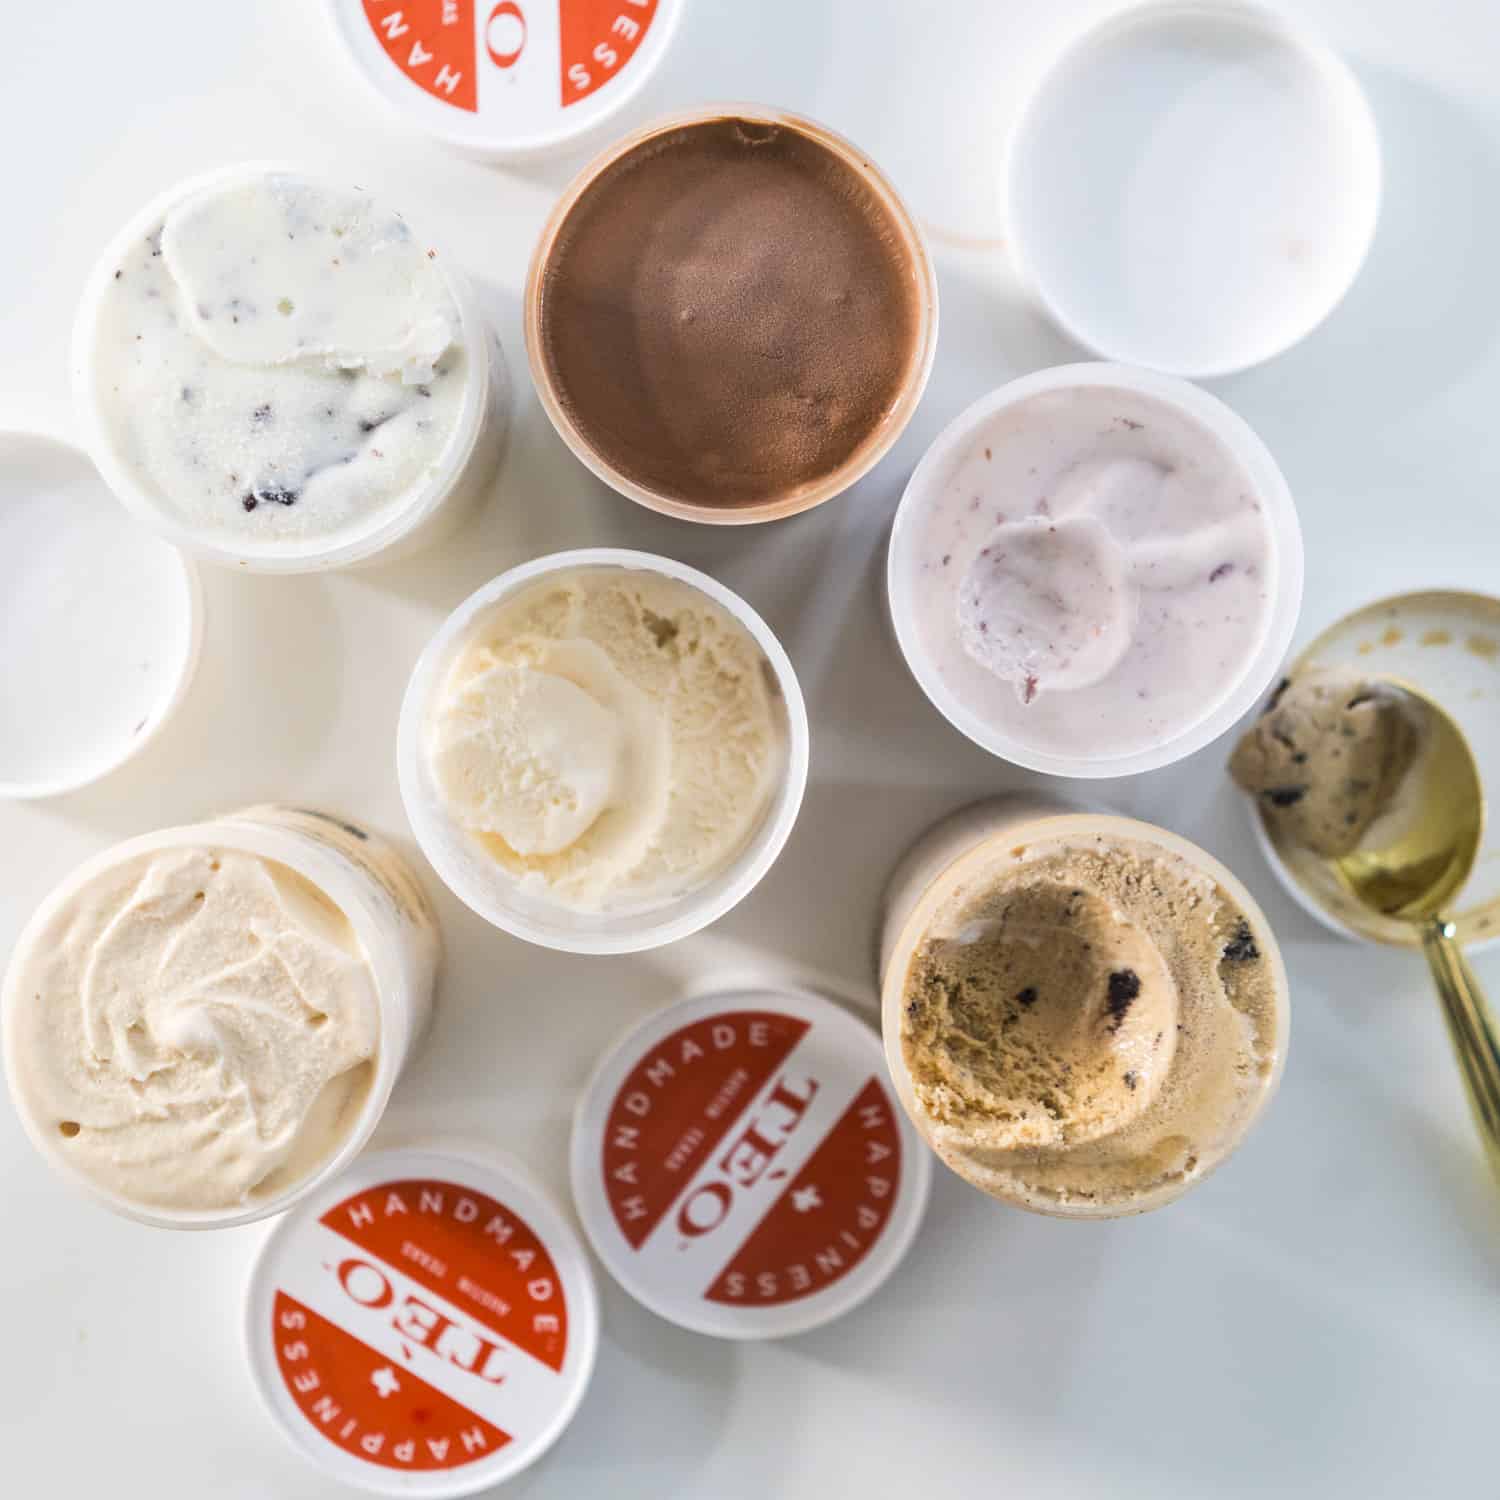
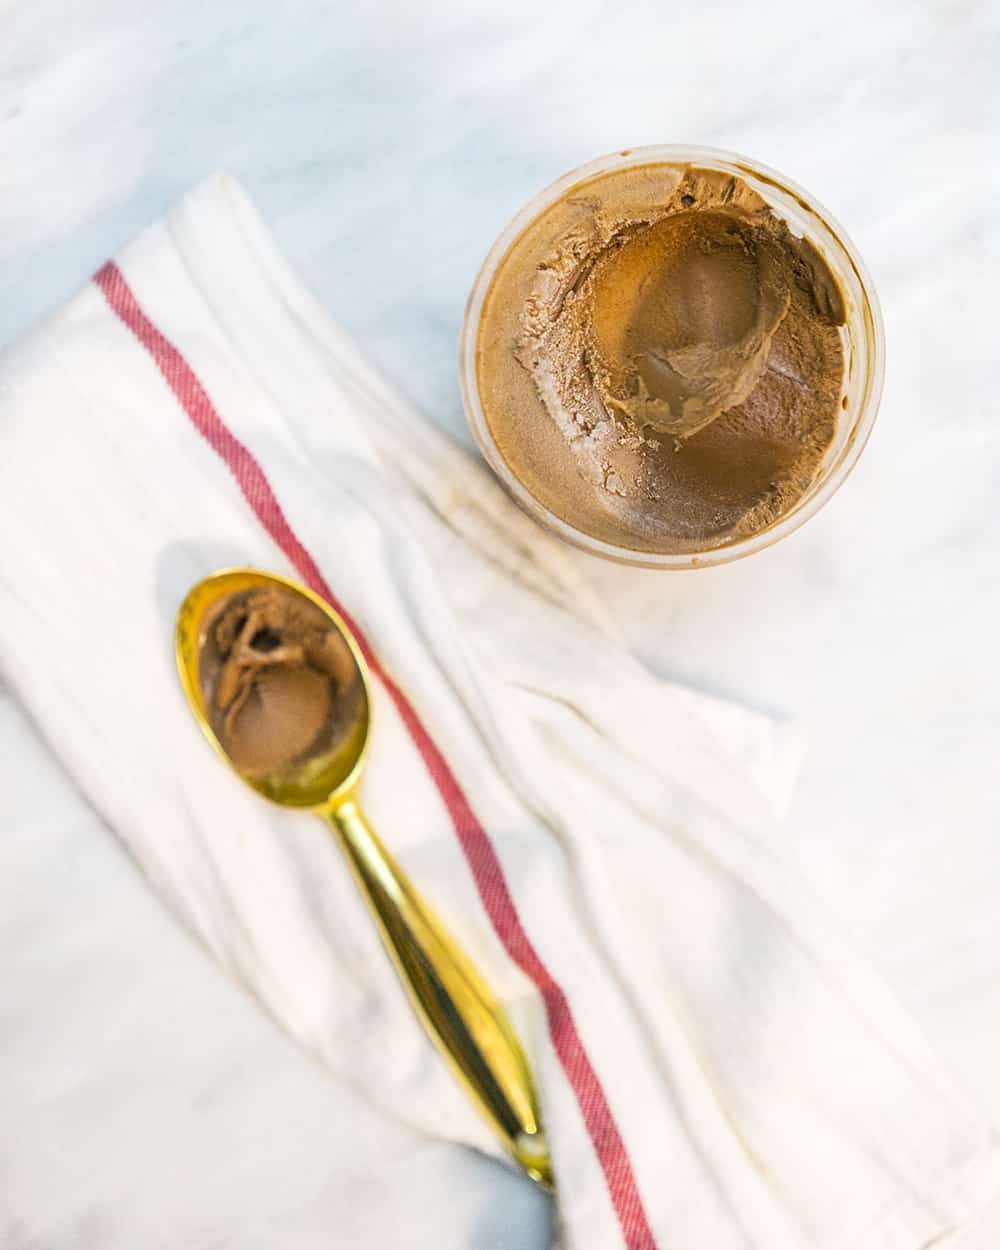
Can you tell the difference between these gelato photos? The multiple pints photo was shot in natural lighting during the day. The photo above with the ice cream scoop was shot at midnight. The photo was still a tad orange for my liking so I reduce the saturation during editing.
Not bad right?
I really like telling Alexa to turn on the lights when I come back late at night and then telling her to turn off all the lights when I’m going to bed!
This post is brought to you in collaboration with Best Buy. Thank you for supporting the brands that support A Taste of Koko!
