Wood flooring has always been on the top of my bucket list and I couldn’t be more excited to finally replace the dirty carpet with engineered hardwood! It was a 4 month process and I wanted to share my experience on how to install engineered hardwood floors.
I love Basil, my 8 lb maltese puppy, but we just couldn’t come to terms on where he can and cannot potty. In addition to my OCD cleaning nature, I just couldn’t keep vacuuming every single week and steam cleaning every two weeks.
It was important to me to work with a local Austin hardwood company so I found Arbor Floors in North Austin. It was 2 months of meeting with their flooring consultant, Ashley Jacobs, to pick out different flooring materials, and flooring colors. She was incredibly patient and thorough with me throughout the entire process. Please ask for her when you visit Arbor Floors!
Here are a couple of questions that will you need to answer:
- Where will the wood be going? Restrooms and pantry?
- What is the subfloor made of?
- What are your living habits? Do you have kids, and/or pets?
- What style is your home?
- What is important to you? Budget or the appearance of your home?
- Do you plan on installing wood in other areas at a future date? (it’s easier to add on with domestics, exotics don’t lend themselves well to a portion by portion install well)
Before we started construction, I painted my downstairs walls and ceiling with Valspar Bistro White in the satin finish. My downstairs already looks brighter and bigger!
Table of Contents
1. Research, measure, and plan
Research the different kinds of wood used in flooring, some are harder and therefore more durable than others. While Hickory, Red and White Oak are the most common domestic wood flooring, Maple and Walnut (softer) are also popular choice. Top selling exotic woods include Brazilian cherry and Tigerwood, but can be photosensitive. they can fade or darken
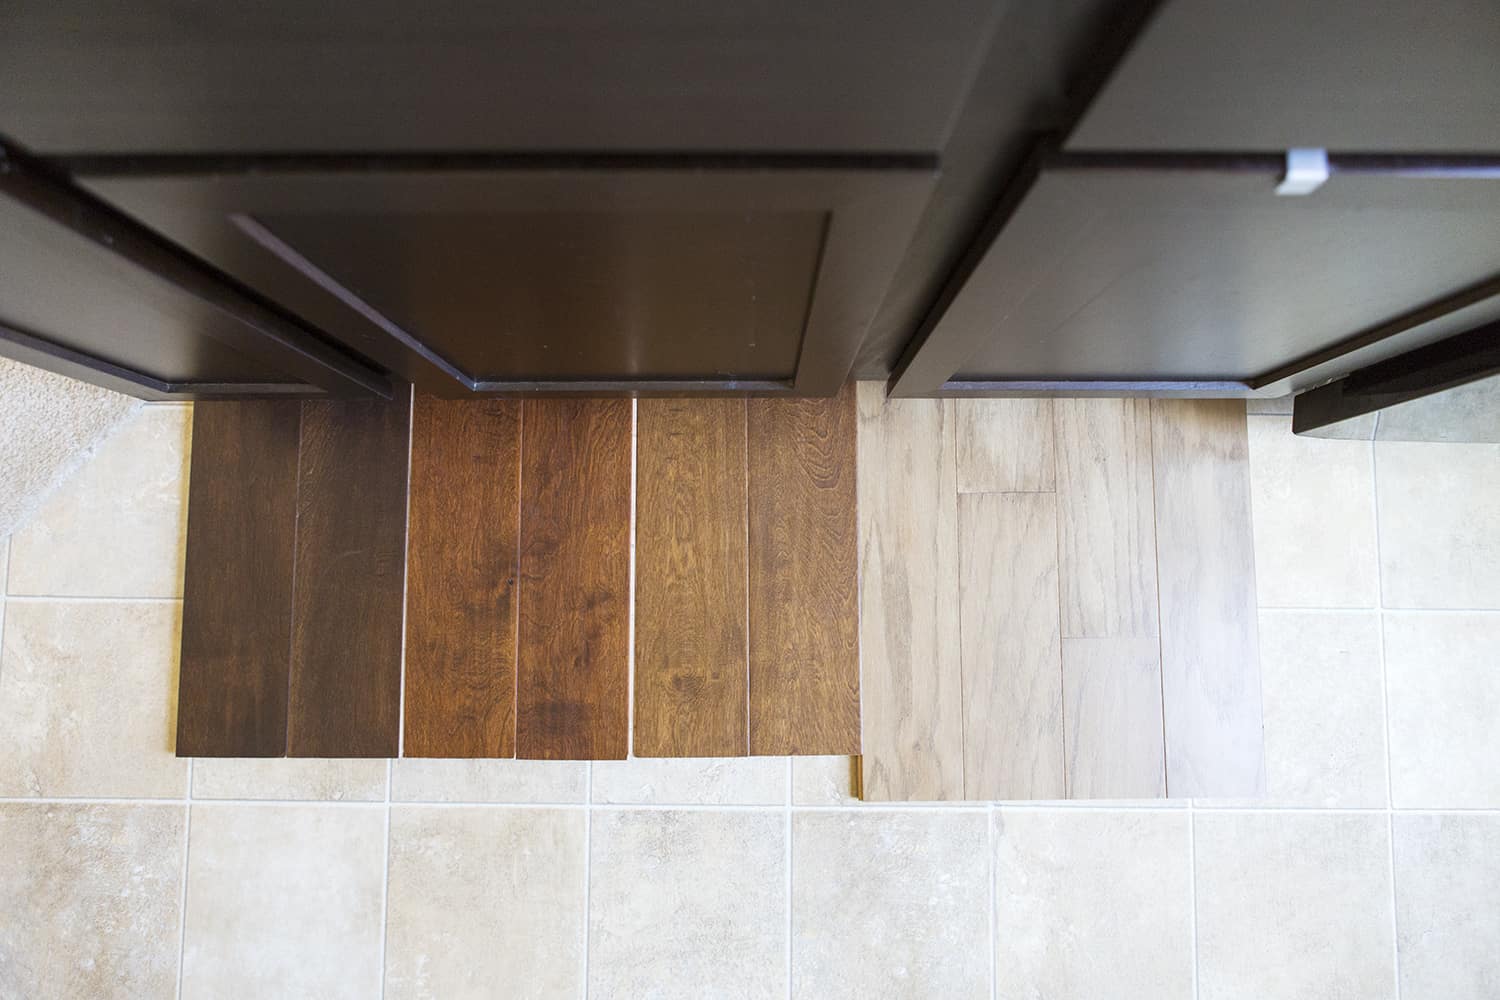
You then need to pick out the grain, color, and appearance of the wood. I originally thought I wanted dark brown flooring but Ashley explained to me darker flooring is more high maintenance because it shows dust and scratches. The darker color would also blend into my dark cabinets so I opted for a honey color that brighten up my downstairs.
Plank size is also important. Skip the traditional 3” plank size that is found commonly in apartments and go for 5” and above. The less lines in your flooring will make the space look bigger.
The blueprints my builder gave me stated that my downstairs in 300 square feet. With hardwood installation you will need to add 10 – 20% depending on the cutting needed. Smaller areas and architectural features need more wood than largest, even-shaped square or rectangular rooms. Higher waste percentage can be asked for so the leftover wood can be left in your home for future repairs. This way the dye lots will be the same and discontinuation won’t be an issue. for waste and extra pieces so mine was 400 square feet. Ashley helped measure my downstairs and calculated the numbers for me.
2. Samples, samples, and more samples
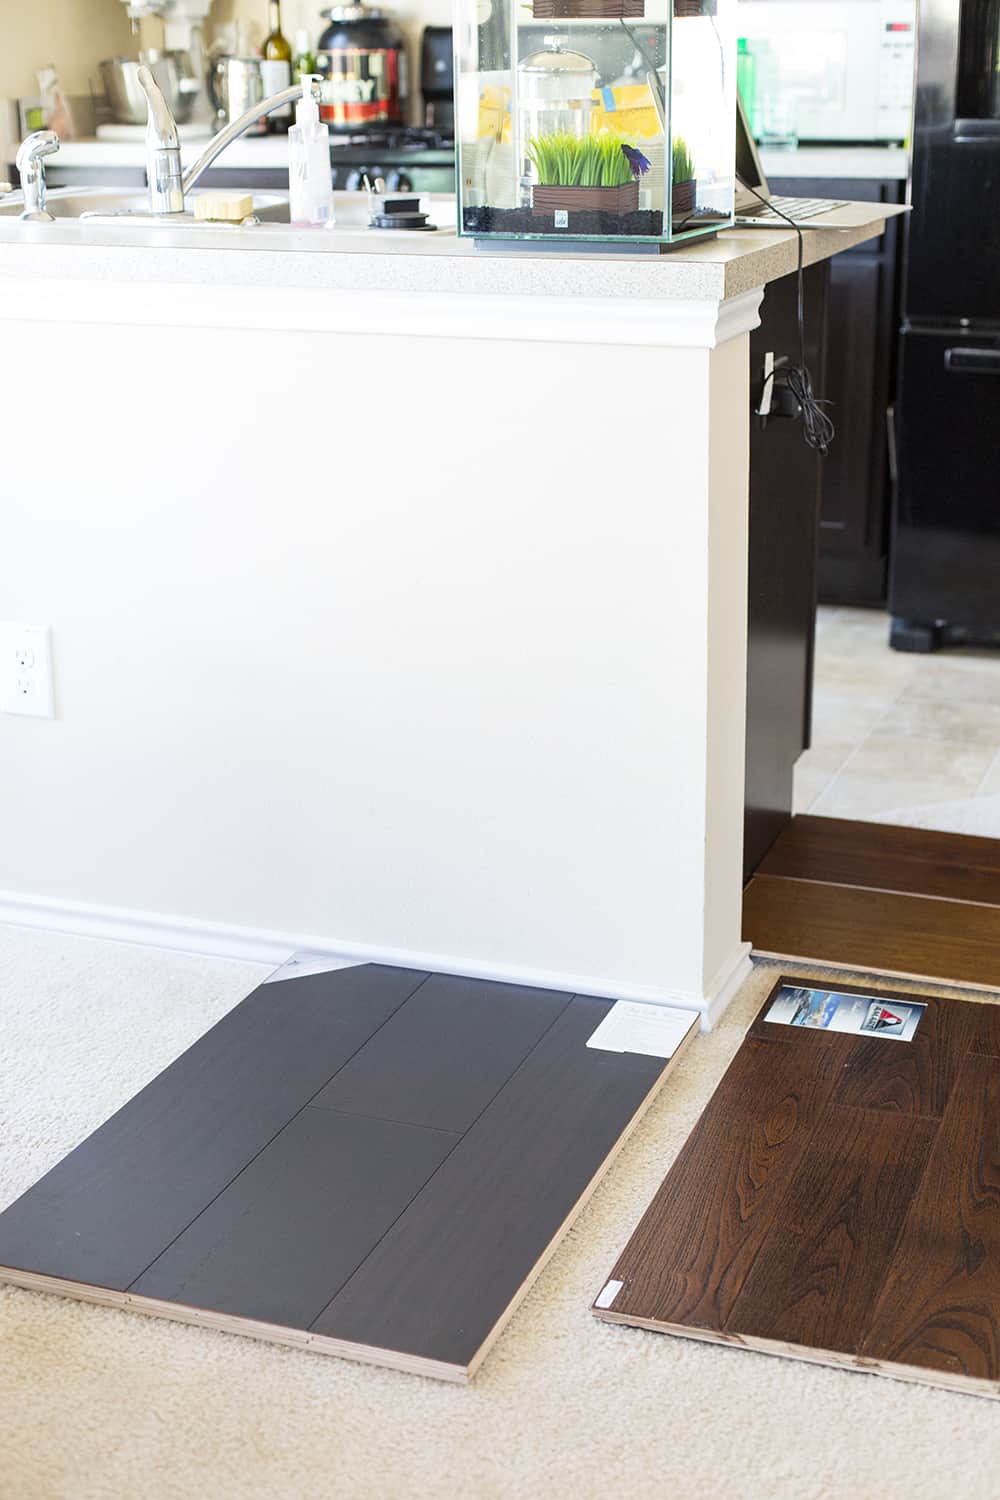
Don’t be afraid to ask for samples to take home. That way you can see first-hand how the different textures, colors, and styles look in your home during the day and at night. I had over 6 samples sitting in my downstairs for 2 weeks before I could start eliminating wood choices.
I knew I wanted to paint my walls white so I went ahead and did that so I could see if the wood color would be compatible. I used Valspar paint in bistro white.
3. Acclimate the wood
It’s important to acclimate the hardwoods in your home for at least 24 to 48 hours so the wood can adjust to the humidity and temperature.
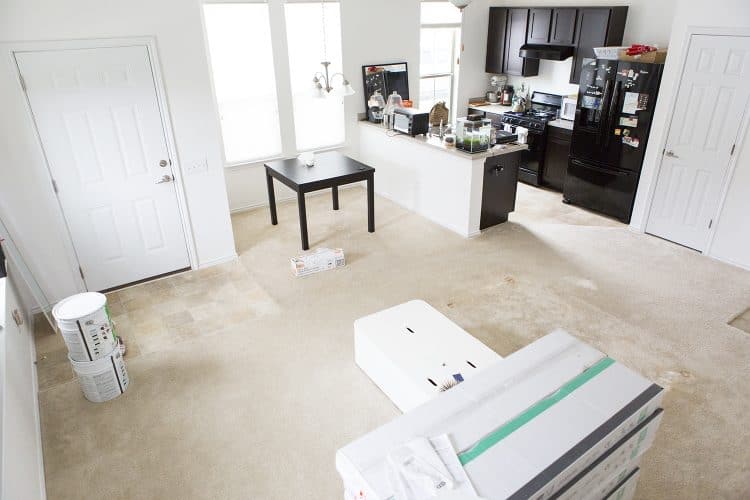
4. Prepare for the big day!
The day before clean up the space, and move as much furniture as you can. Ask your flooring company if they will help with moving larger pieces of furniture. If not, you might need to hire
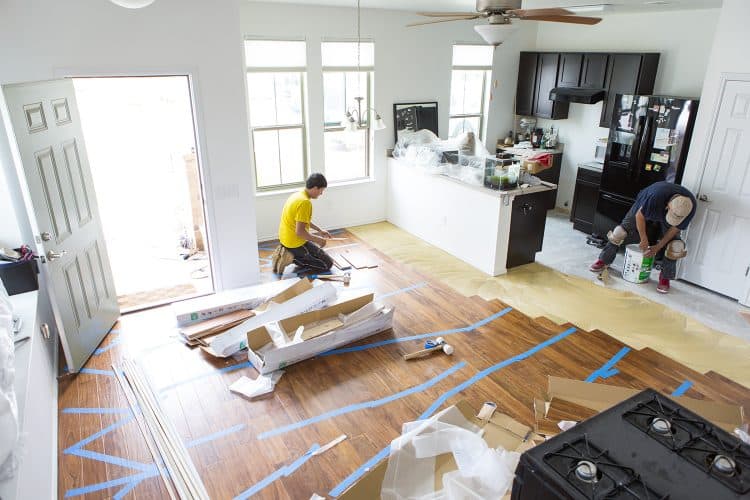
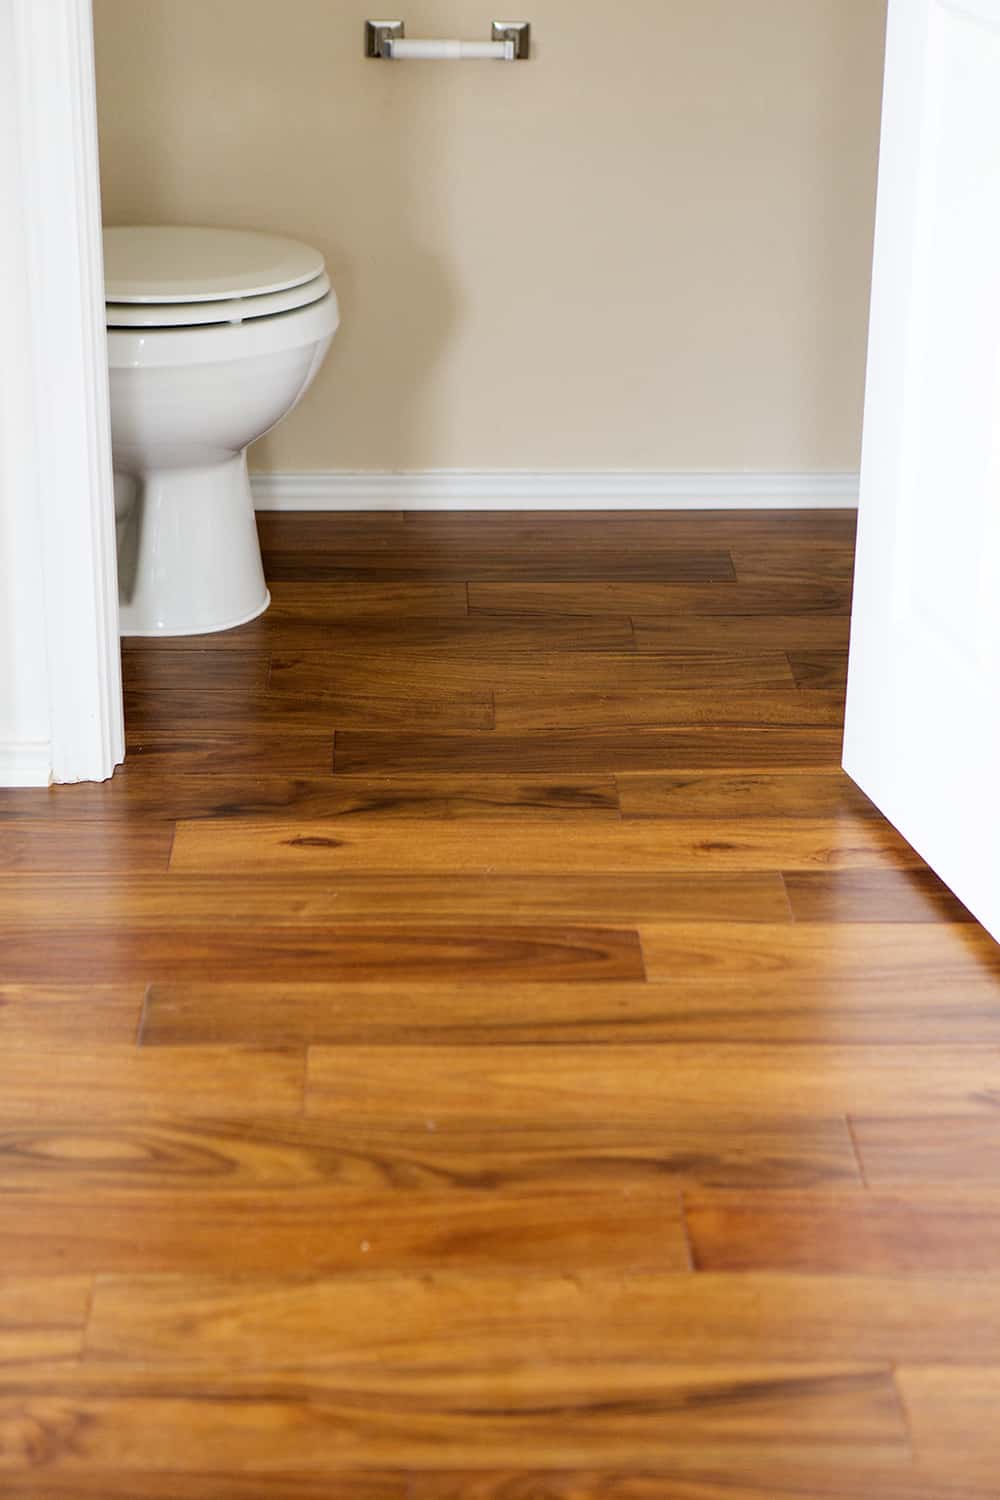
professional movers. Arbor Floors helped me move all of my small and big furniture, such as the dining table/chairs, couch, coffee table, refrigerator, oven, and even the toilet!
I highly recommend putting away any dishware or glassware. My place was super dusty afterwards so I had to wash all of my wine glasses and wipe down everything downstairs.
5. Getting started
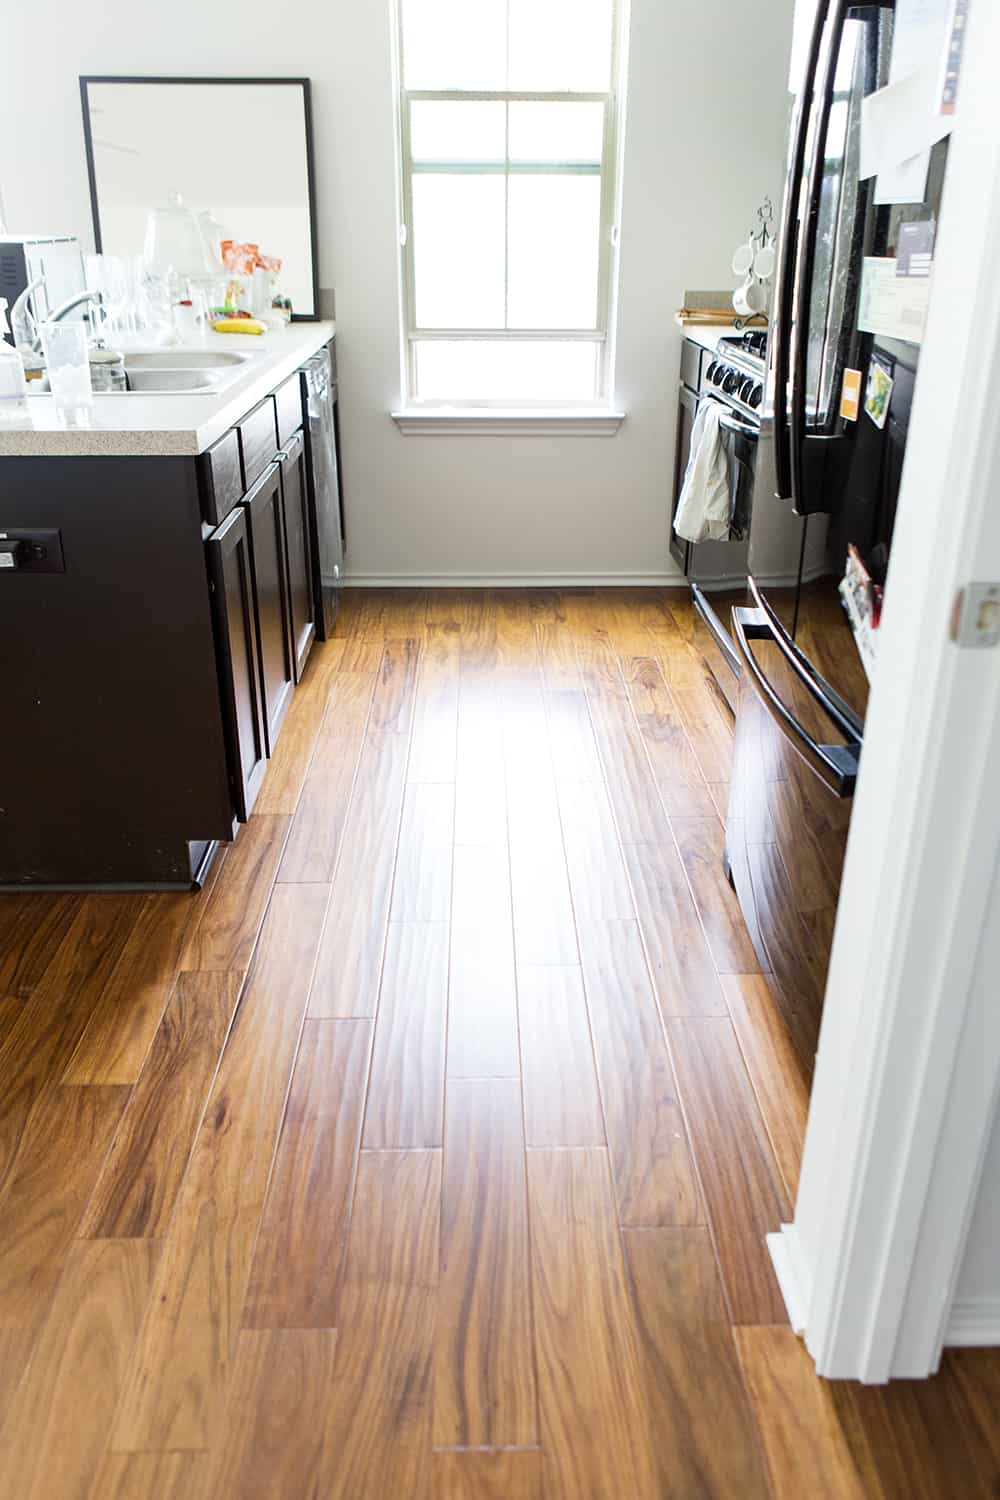
The only thing I did the morning of was discuss with the installers on what direction I wanted the planks to run. Since I wanted the hardwood flooring to be installed into the kitchen, the planks had to run longway.
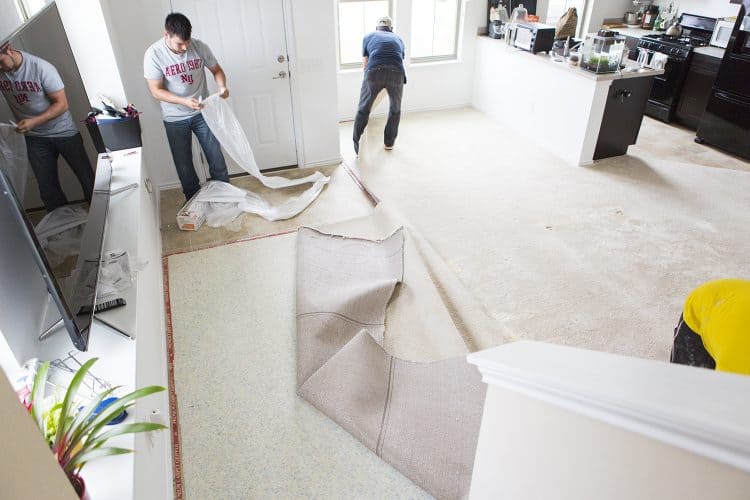
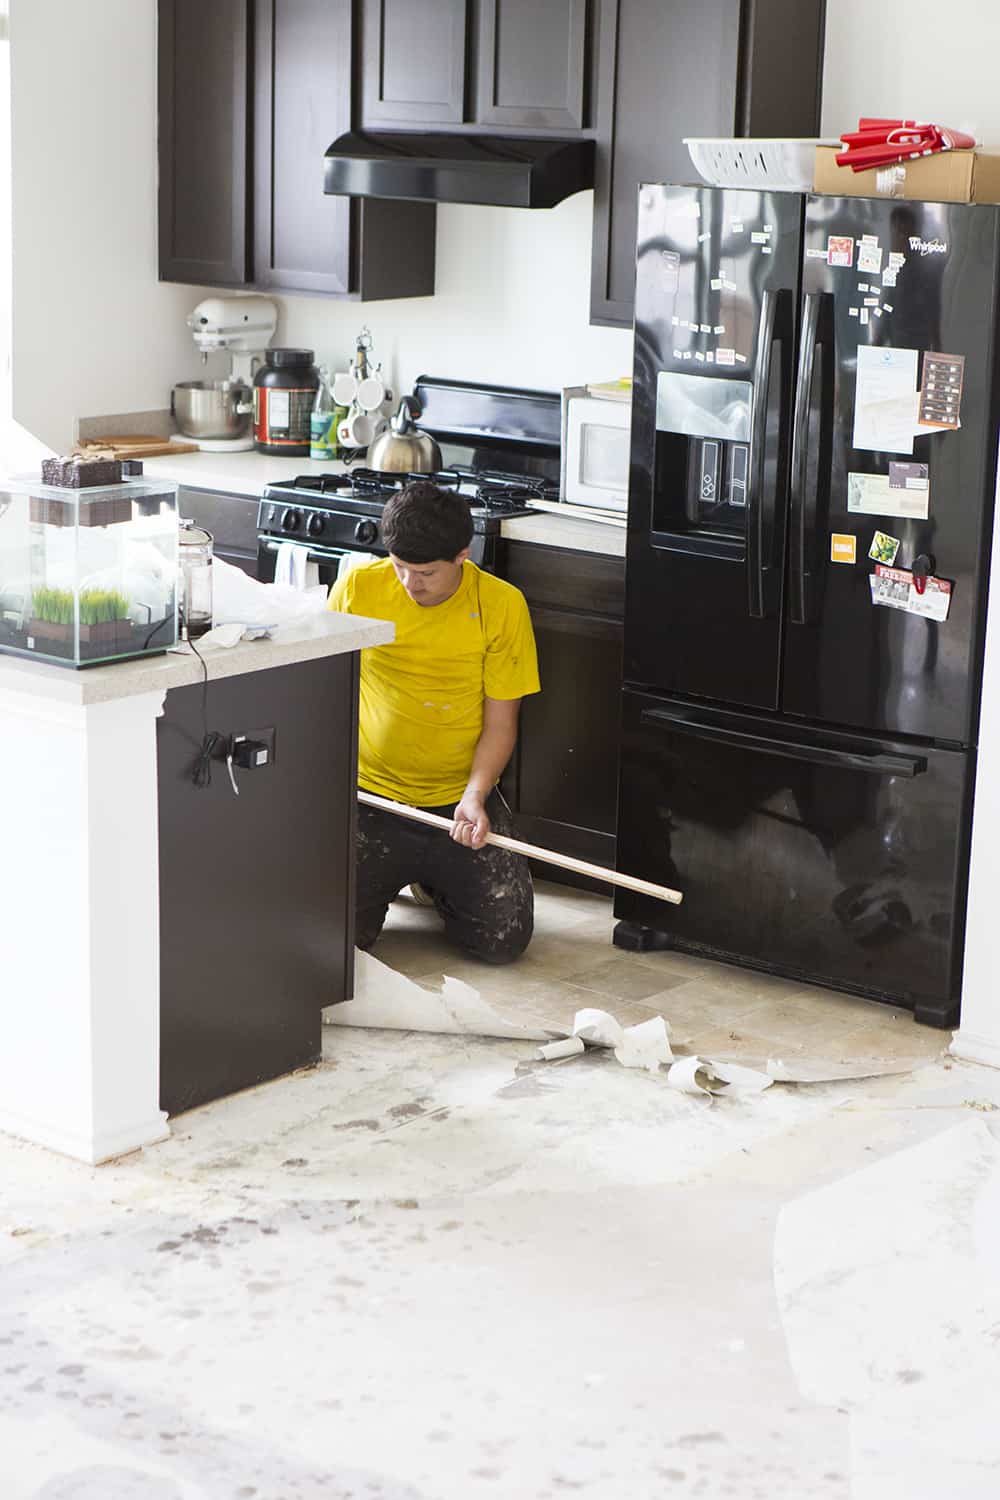
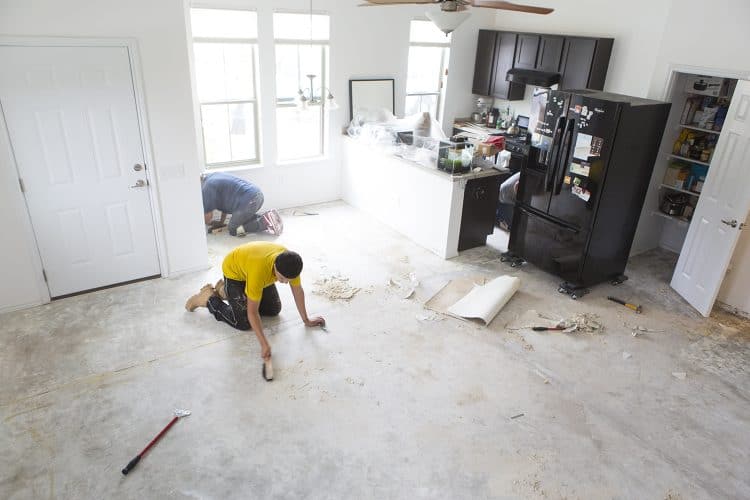
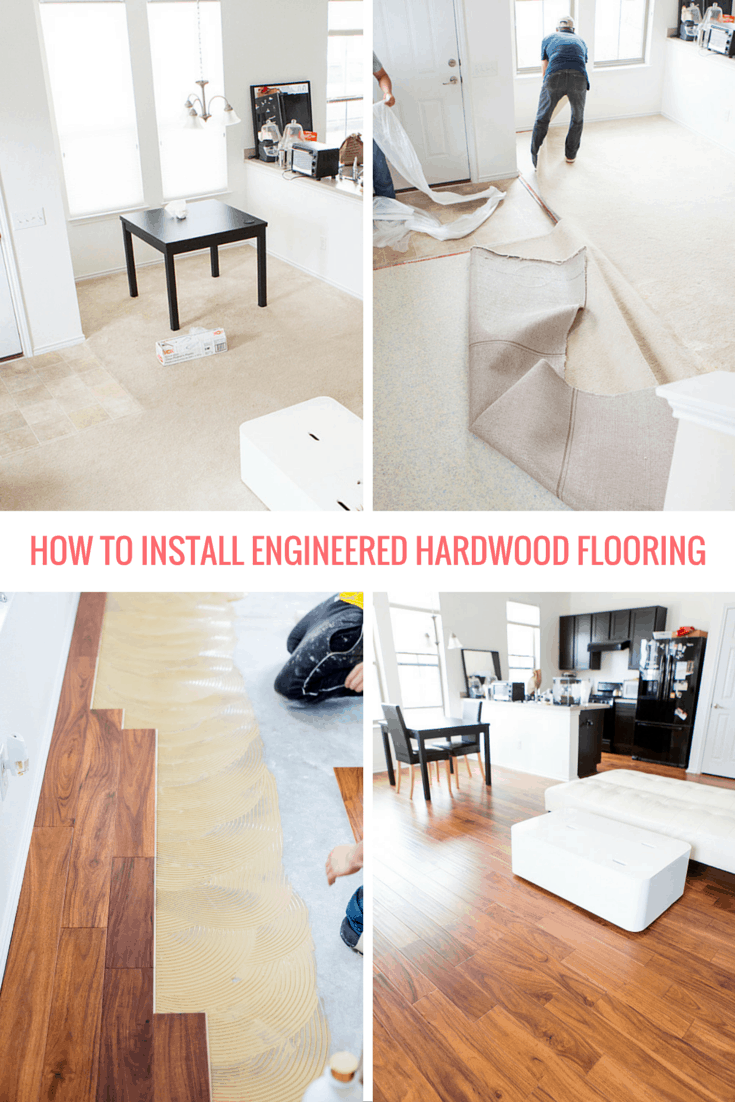
6. Removing carpet and laminate
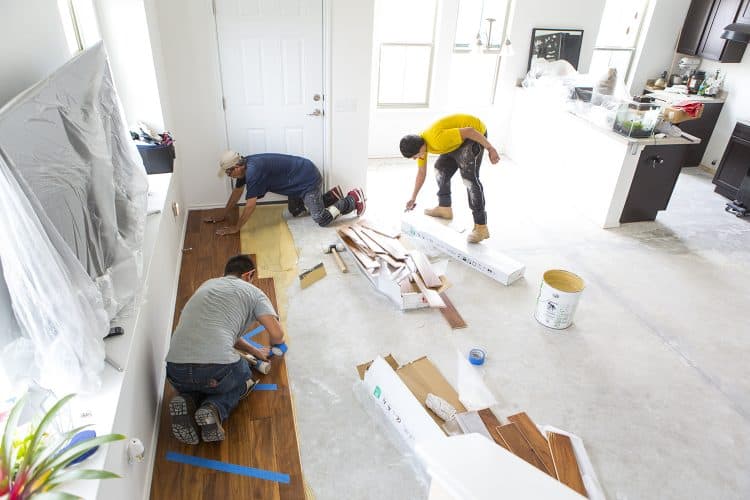
The carpet was easily ripped up in 15 minutes, while the laminate took 30 minutes.
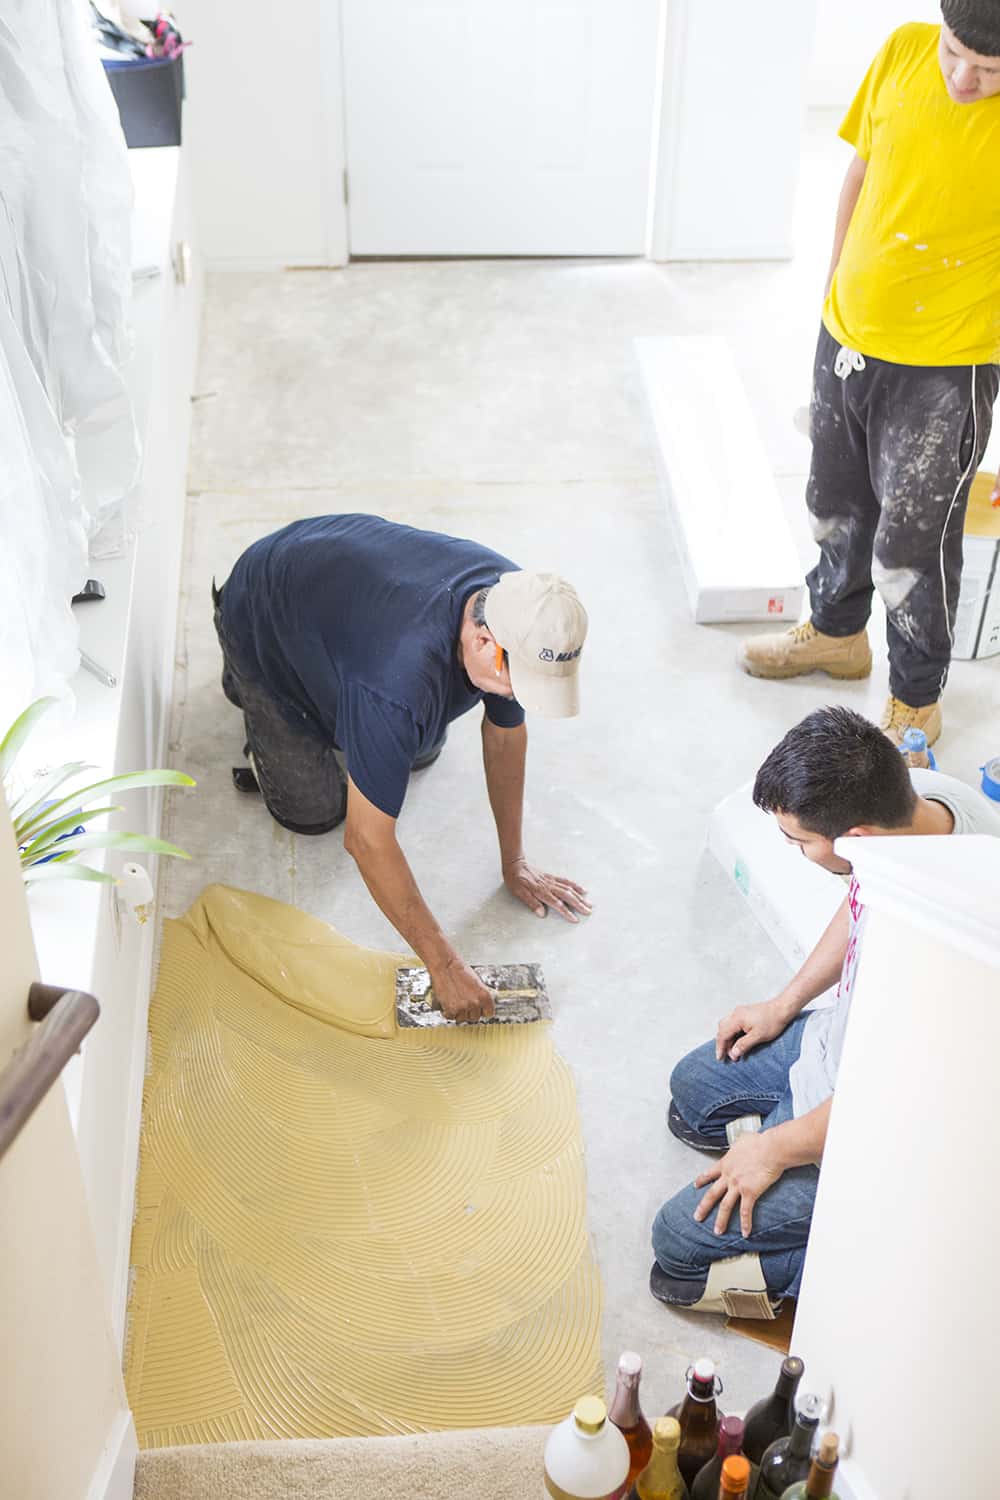
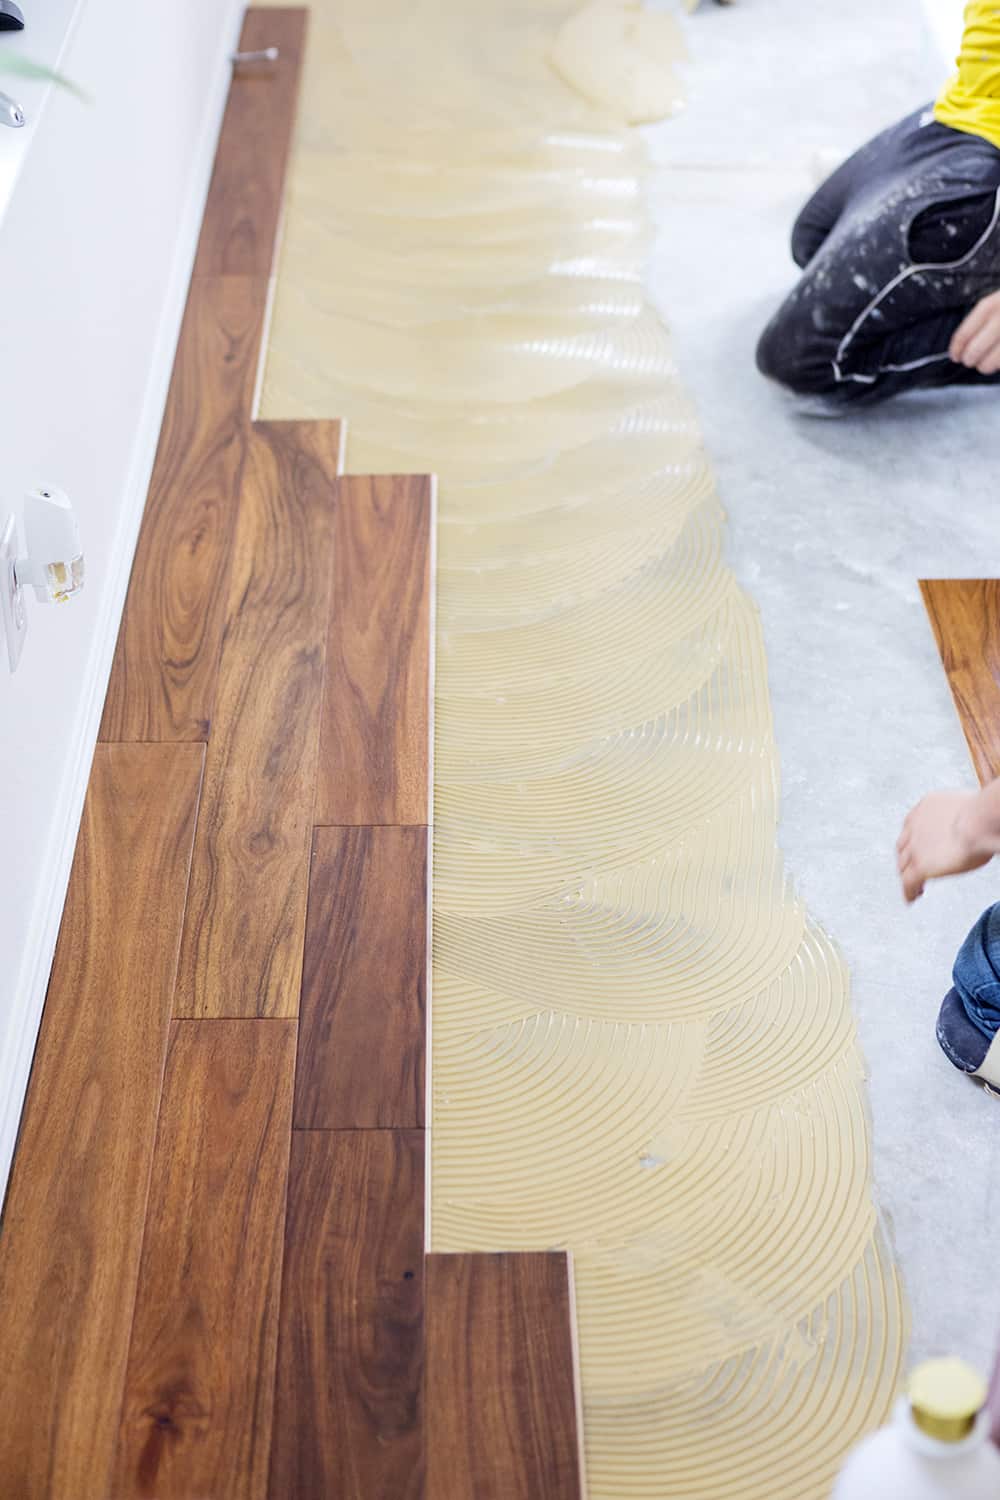
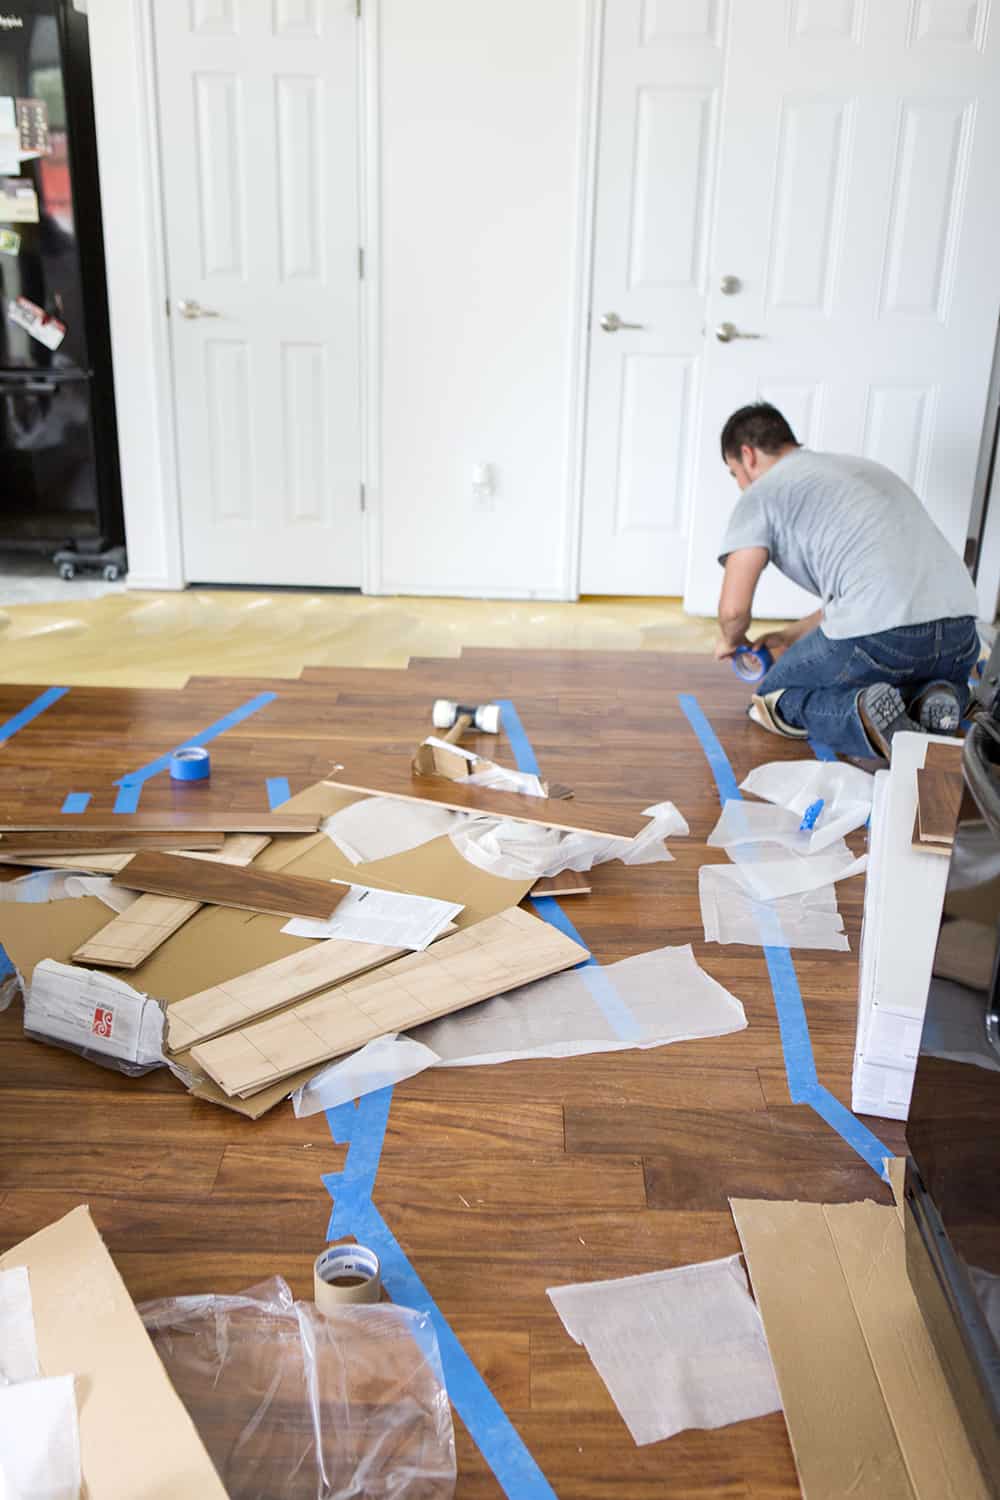
7. Installing the engineered hardwood
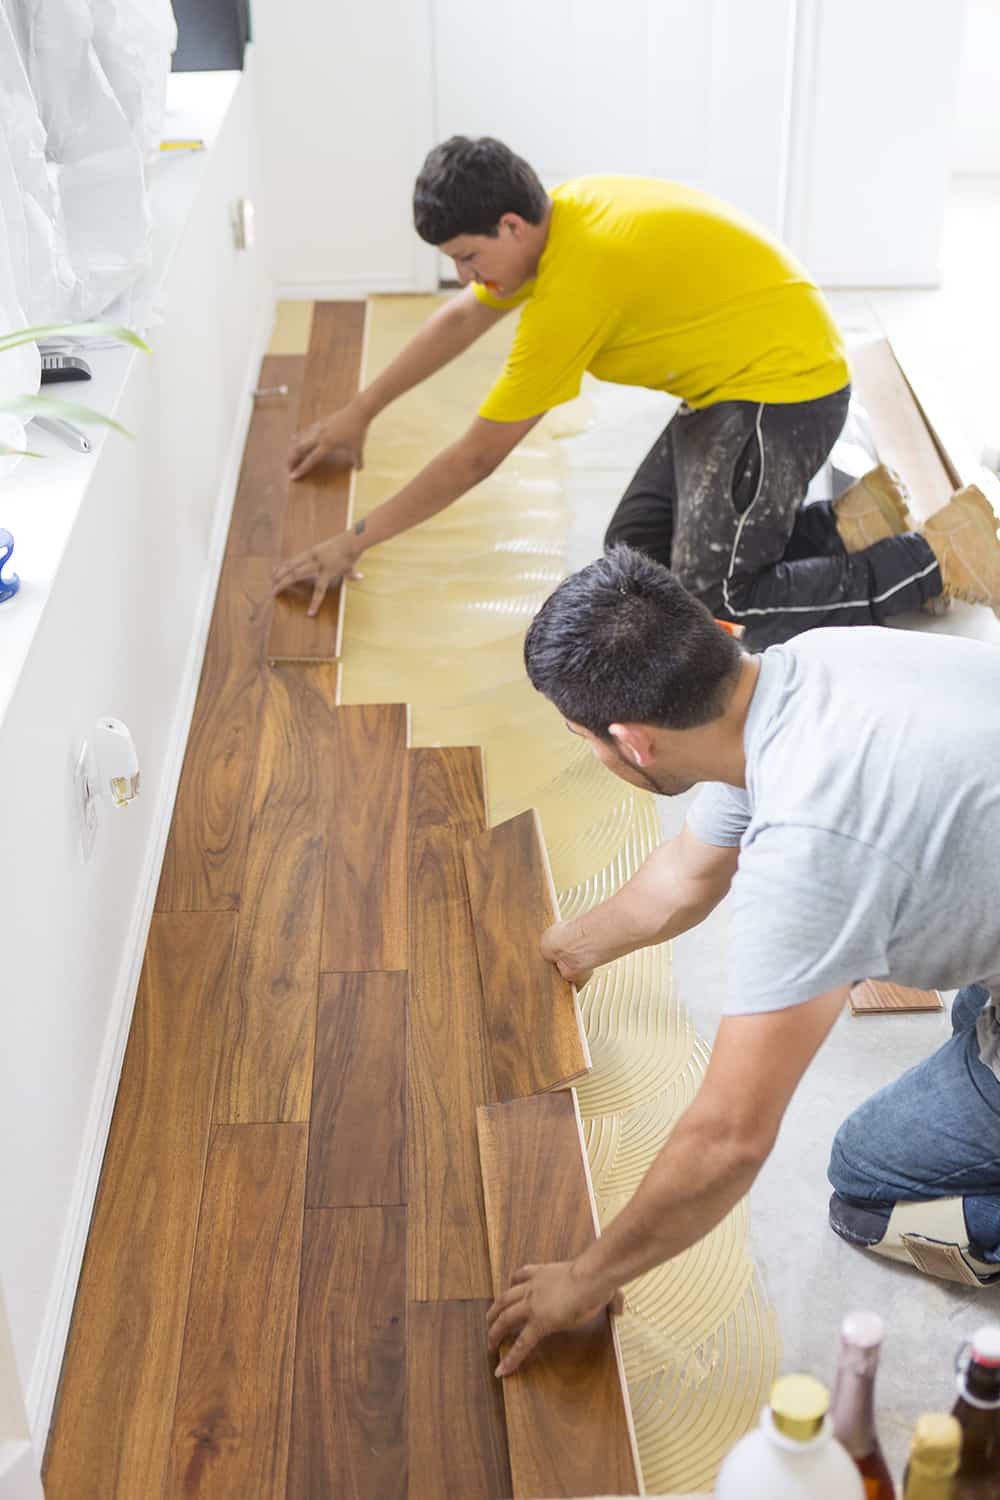
The installers mixed boards from each box of flooring to ensure the finished floor would have a blended color and finish without patchiness.
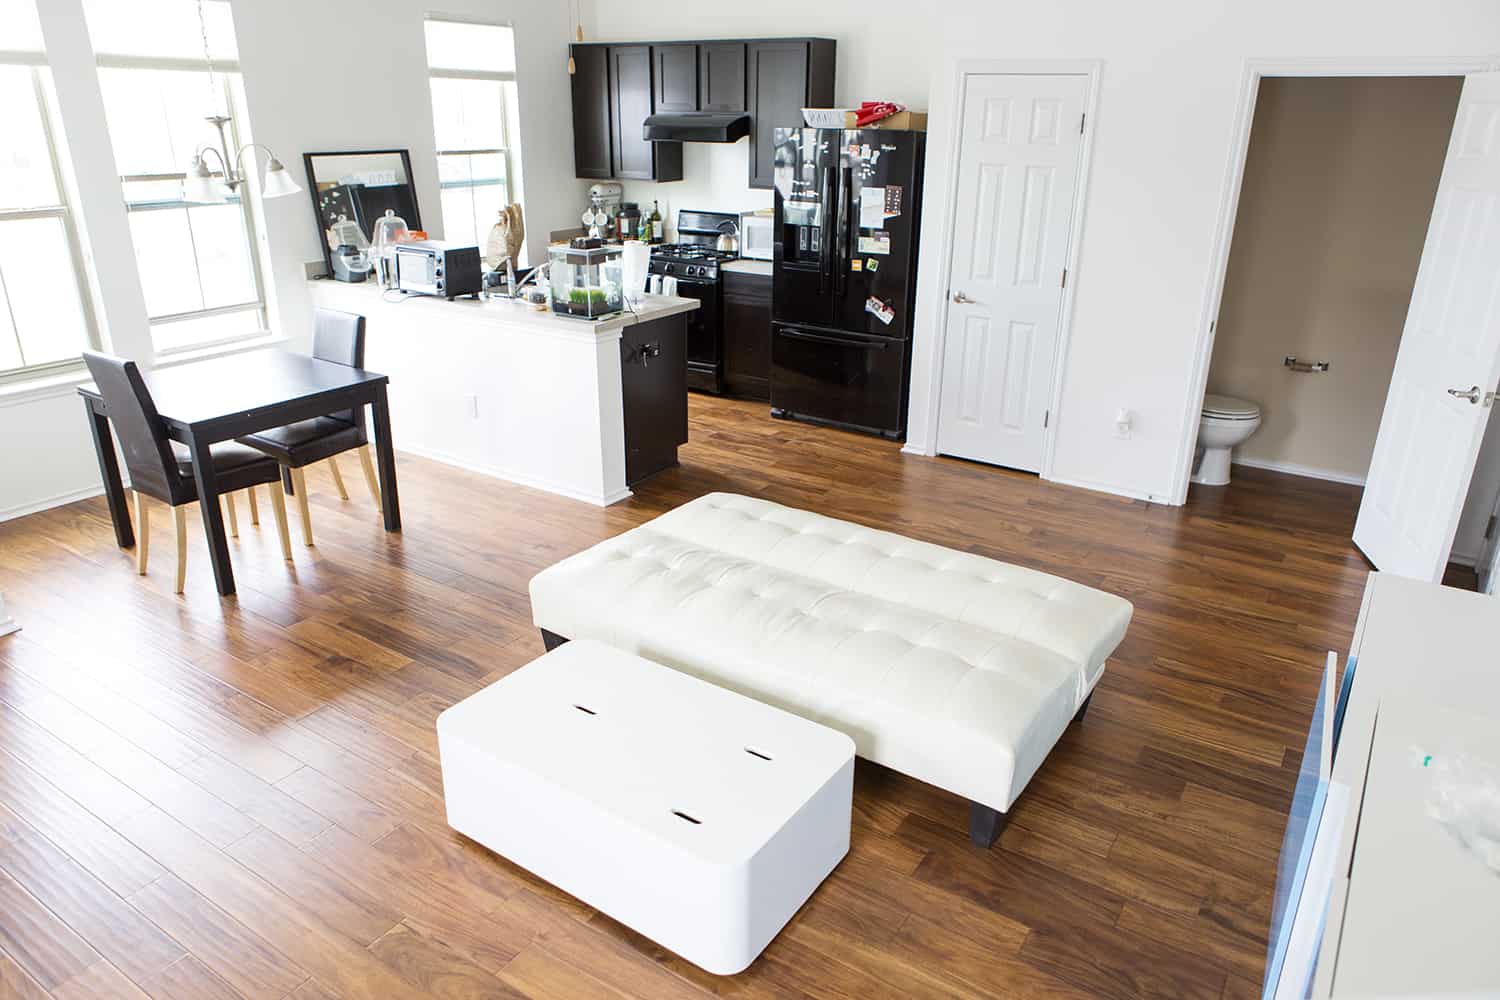
8. Finished!
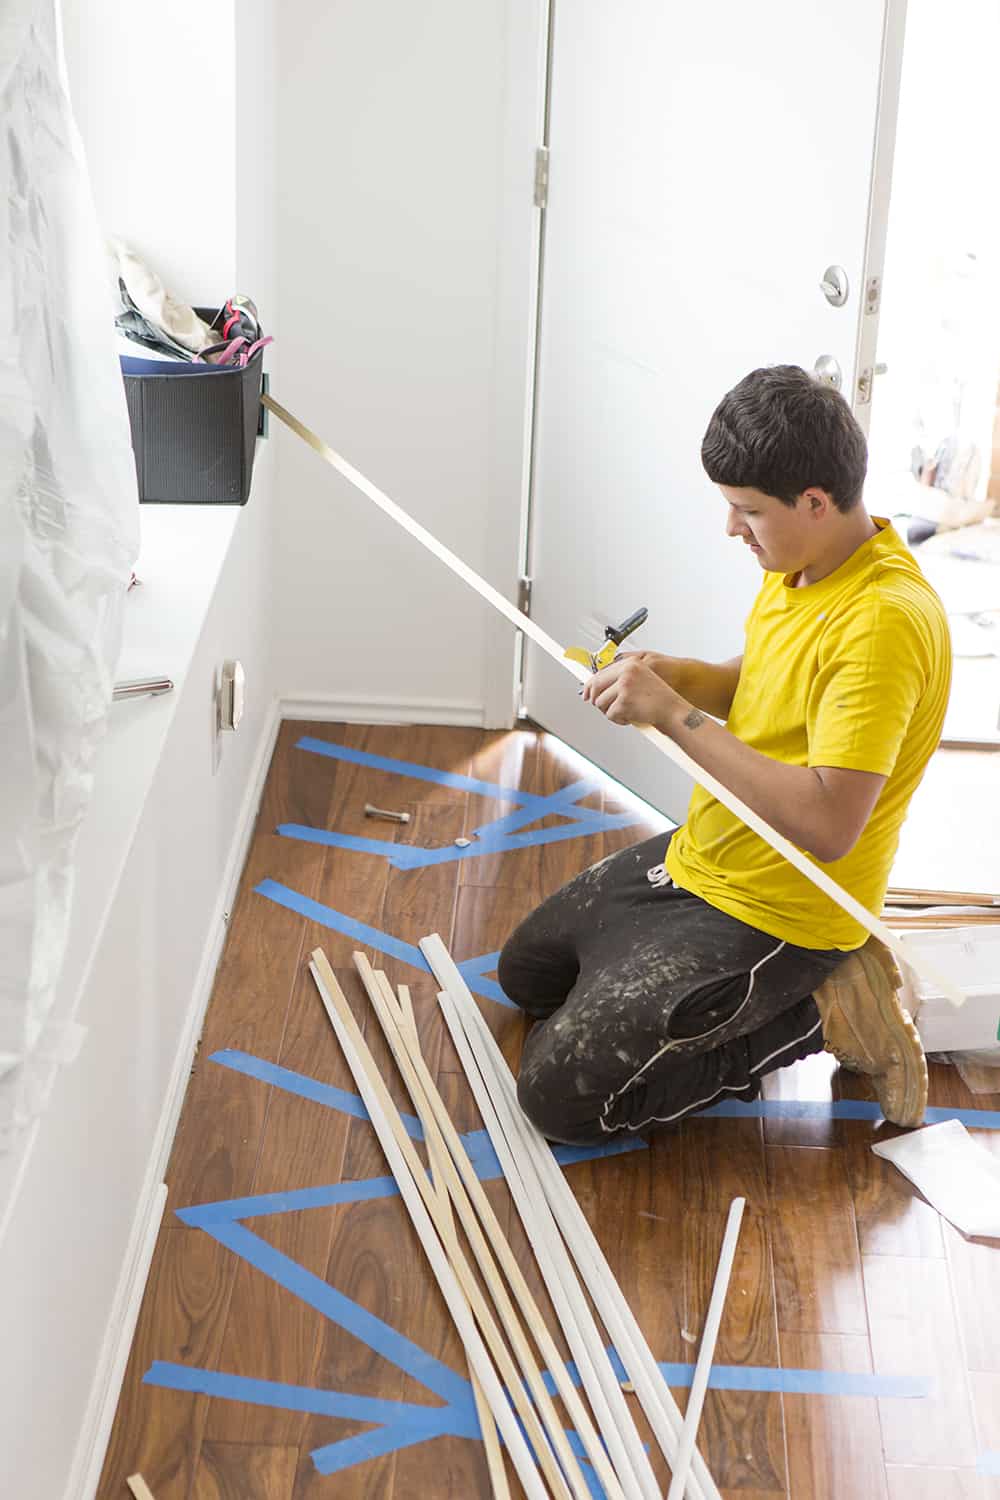
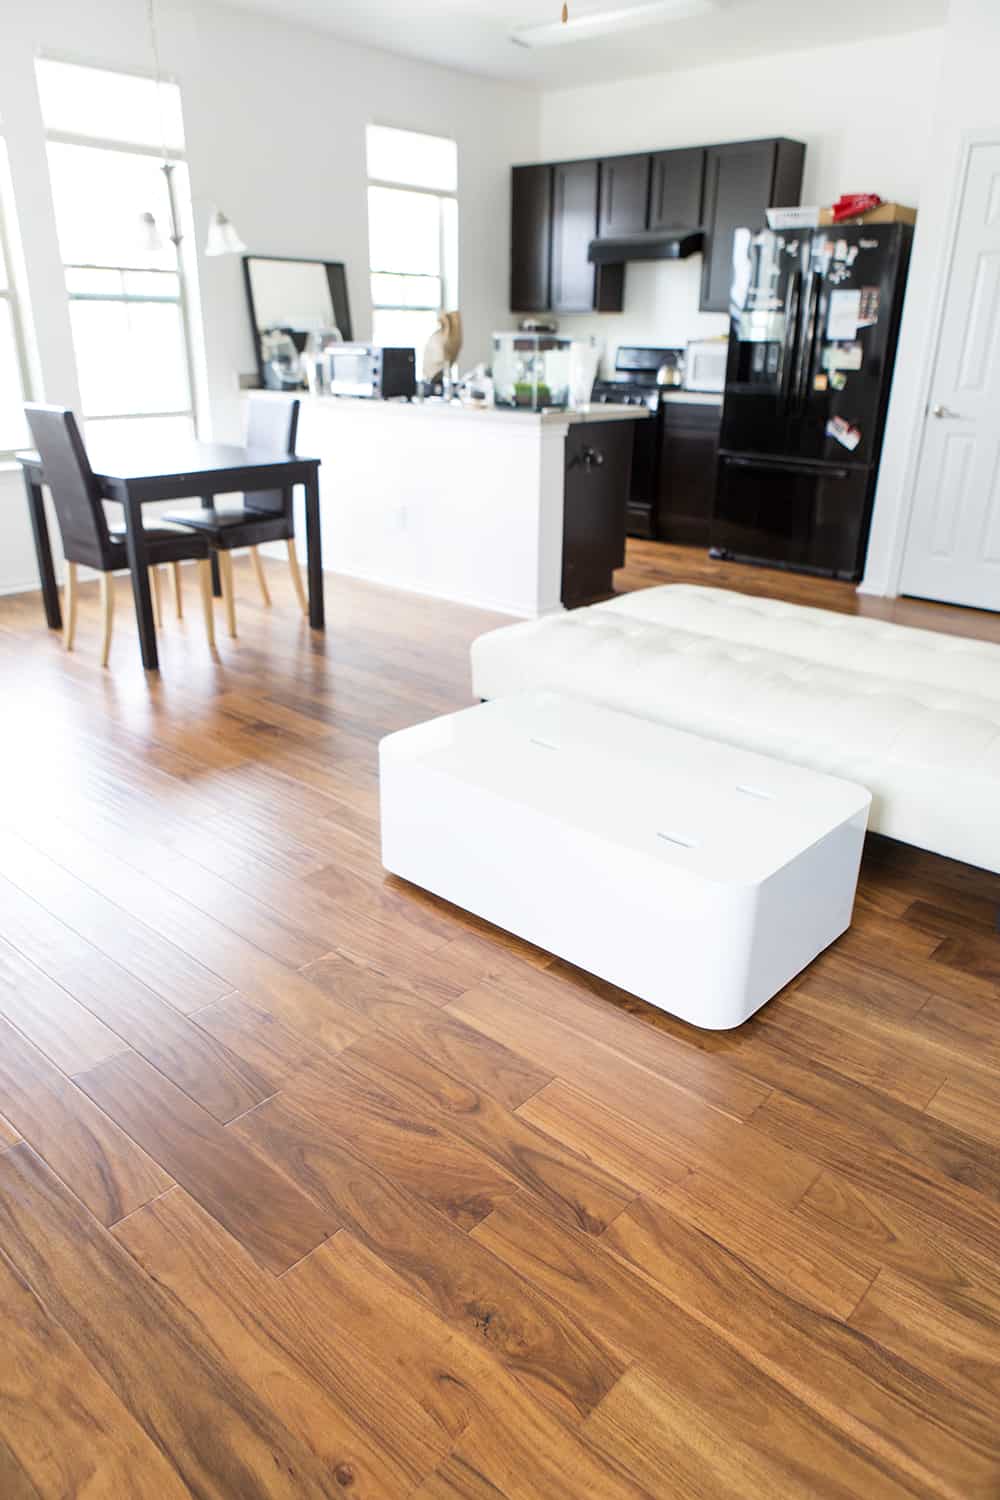
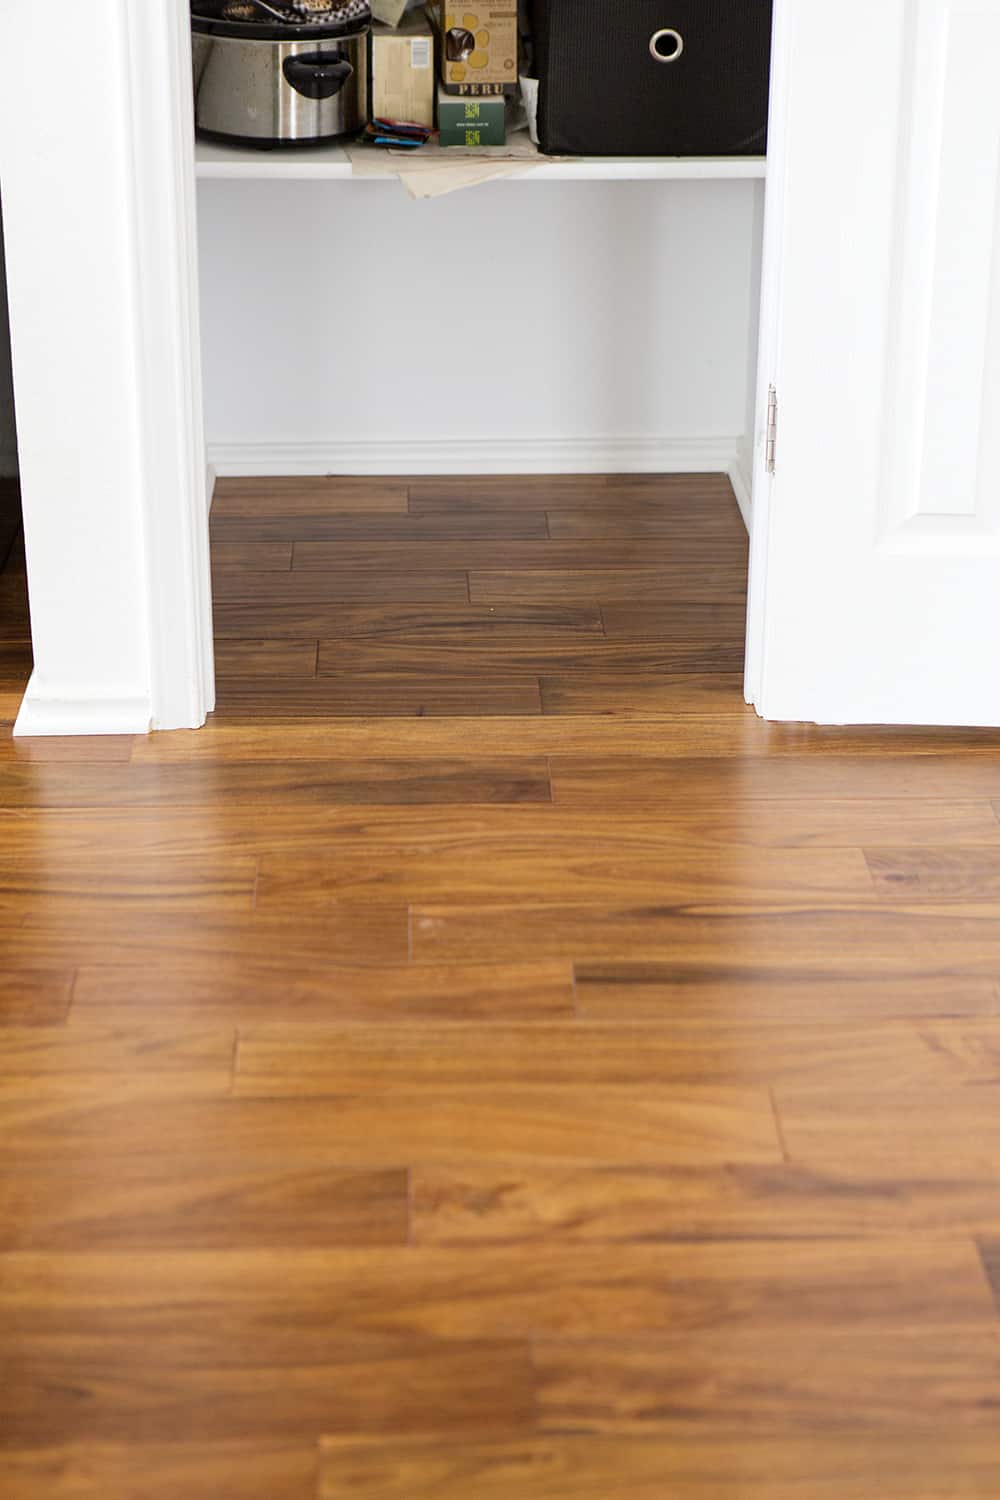
The entire process took 6 hours from start to finish, and clean up. Hello beautiful wood flooring!
Created in partnership with Arbor Floors. Arbor Floors is a local Austin shop specializing in wood, laminate, carpet, tile, natural stone, granite, and luxury vinyl installations.
